
As an Amazon Associate we earn from qualifying purchases.
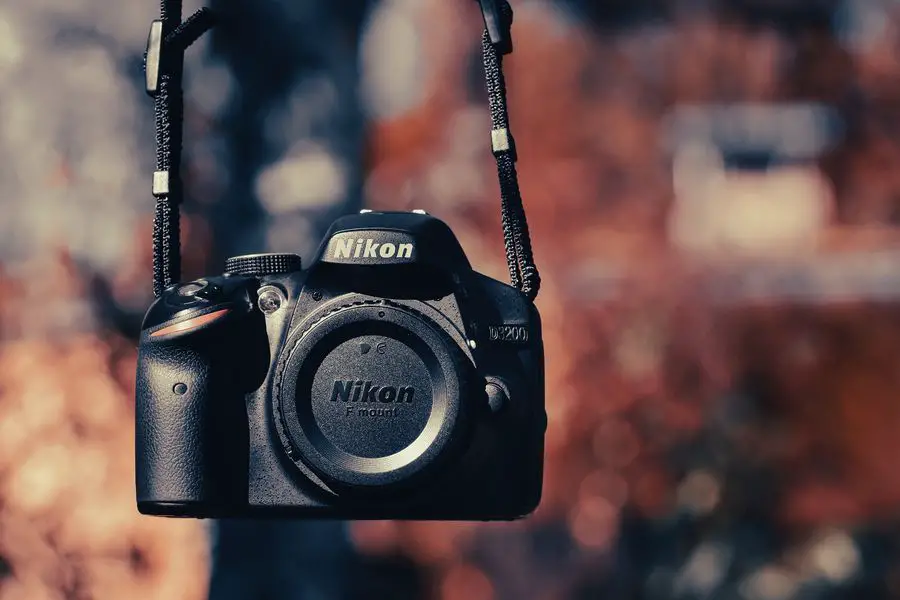
The D3200 is an entry-level DSLR (a digital single-lens reflex) camera that allows you to take amazing photos with manual controls at an affordable price. This camera is one of the best in its class. It has a 24.2 MP CMOS sensor and EXPEED 3 image processor that work together to create a sharp, clear image.
Contents
How to Take Great Pictures With Nikon D3200
It can be overwhelming to learn all there is to know about photography. However, it is worthwhile Unlearning all there is to know if one wishes to pursue it as a hobby or profession. We’ll try to teach you only what you need to accomplish your goal of mastering the Nikon D3200 camera.
1. Set Image Quality to RAW
RAW files contain more information than JPEGs. Your photos will appear brighter and smoother. With the Nikon D3200, there can be significant differences between how much light gets recorded when shooting in both modes.
Shooting in RAW with the Nikon D3200 gives 1 EV Stop increment as opposed to JPEG’s 1/3 stop increments. If you set your shutter speed to 1/60th of a second with an aperture of f/11, it’ll be at f/11. For JPEG, that will be f/10.5 which means reduced exposure.
To shoot in RAW, select RAW-F in information settings. Later, you can use Nikon’s NX-D software to edit RAW images.
2. Master the Proper Settings
The Nikon D3200 is a great camera for taking pictures of your family, friends, and pets. Now, what if you want to take more professional pictures? You must customize the camera settings manually:
The Ideal Settings for Portraits
Portrait photography is perhaps one of the easiest to get right as a beginner. Aperture and focus are the most important things to control, although shutter speed matters just as much.
Set ISO to 3200
Set ISO to Auto with a sensitivity of 3200 and a shutter speed of 1/125. These settings will let you automatically adjust the camera’s sensitivity based on lighting conditions so that you don’t have to worry about being stuck with an image too dark or too bright.
Use Aperture Priority Mode
First, make sure you’re using Aperture Priority mode to control how much light comes in through your lens. Rotate the mode dial to the letter “A.” Next, set the aperture to f/2.8. That’s where most of your photos will be at their sharpest and clearest.
Use AF-Area Mode for Single Focus
Next up is Focus Mode. Use the AF-Area mode for a single focus. This means that when you press the shutter button halfway down, the camera only focuses on one thing at once. Single focus makes it easier for you to get shots of people or things instead of blurry backgrounds!
The Ideal Settings for Sports Photography
Choosing the correct camera settings for sports photography is possibly the most important factor in being able to capture the action effectively.
Set Shutter Speed to 1/800s
Are you attending your child’s football game? For sports photography and moving subjects, use a shutter speed of 1/800s (Nikon D3200 can get to as high as 1/4000s) to take high-quality pictures of moving subjects.
Use a Wider Aperture F/4
The best-used aperture for sports photography is f/4. A wider aperture lets you keep the shutter speed fast enough, so you don’t have to worry about camera shake during action shots.
Set ISO to 100
If you are shooting in low light, it’s best to turn ISO to 100 and use an f/2.8 or wider lens so that enough light comes into the camera to expose correctly without flash.
Use the 11-Point Auto-Focus
Use autofocus for action photography. Nikon D3200 has 11 focus points, which is great for when you want all your subjects to look sharper. Choose the AF point using the rear thumb camera control. Then, access the “Live view” in your menu and make sure “AF-area mode” is set to “Auto-area AF.”
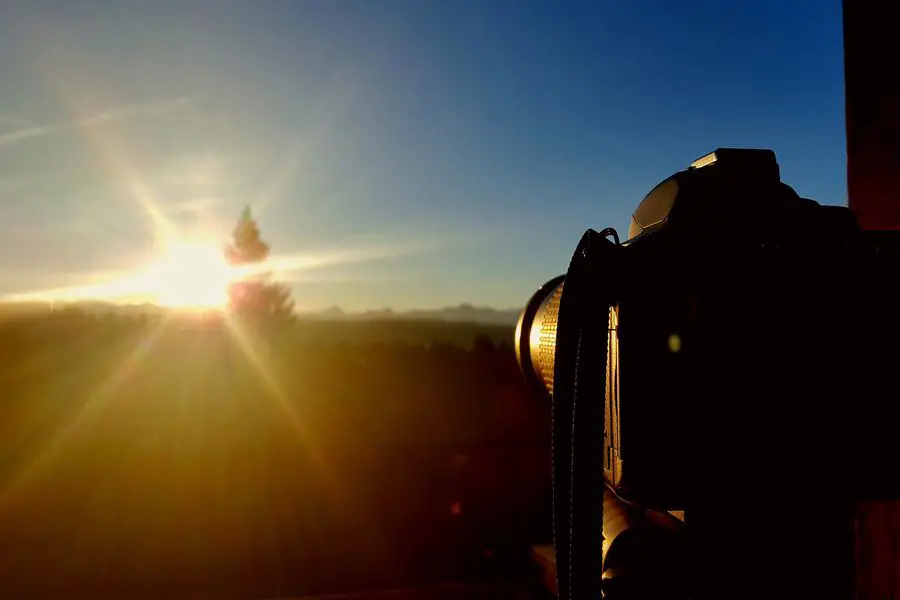
The Ideal Settings for Landscape Photography
It is relatively easy to master landscape photography when compared to other types. For example, a beginning photographer will likely find learning landscape photography easier. As opposed to, say, portrait photography. However, it’s not as simple as pointing your camera at a landscape and shooting.
Reduce Shutter Speed to 1/10
Nikon D3200’s kit lenses (18-55mm) have no image stabilization (IS). Therefore you have to shoot with a shutter speed that is fast enough so that images do not blur due to camera shake. For landscape photography, minimize shutter speed to 1/10.
Zoom Out
Use a wide-angle lens of 10-20mm to capture a big background. If using a kit lens, zoom to 18mm to capture a big field of view.
Set ISO to 100 to reduce image noise (ISO regulates the camera’s sensitivity to light). You can change ISO using the programmable FN button.
Use Manual Focusing
Turn on manual focusing with the rangefinder. The range finder will update to deliver the sharpest focus as you adjust the focusing ring.
3. Enable Active D-Lighting
Active D-Lighting is a feature found in most Nikon DSLR cameras. It helps improve the dynamic range of your photos by reducing noise and increasing contrast in dark areas. This feature is especially useful when shooting in low-light situations or taking photos with a high ISO setting (such as 1600).
To enable Active D-Lighting, open your camera’s menu and go to the Shooting Menu 2 tab. Select Active D-lighting and set it to Auto. Press Menu/OK button to save the changes.
Active D-Lighting can be helpful if you are shooting in areas with a lot of natural light and want to create an image with more contrast. You can also use it if you are shooting indoors with artificial lighting. It works by automatically adjusting your images’ exposure, contrast, and brightness.
4. Take Advantage of the Flash
Try turning on your flash if you are taking pictures indoors and the room is too dim. The flash should remove most of the shadows from people’s faces and make everyone look better. Press the flash button before you take the shot.
If something interesting is happening in the background that you want to capture on camera, and it is too dark for your camera sensor to pick up any detail, consider using an external flash. This will allow you to freeze the action and ensure no hidden details remain untouched by light.
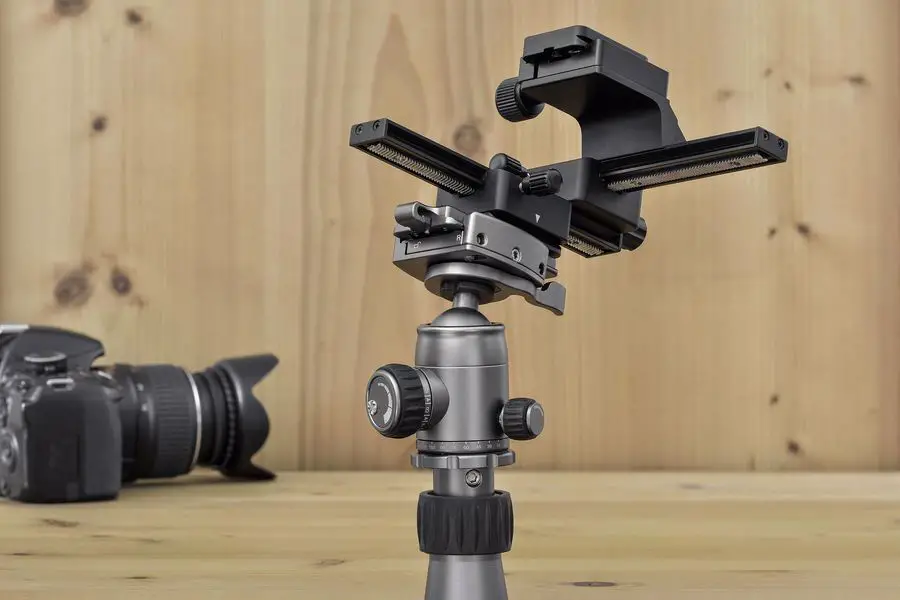
5. Get a Tripod or Use Vibration Reduction
The first thing you should do is invest in a tripod. Tripods can be expensive, so consider buying one used or refurbished. A tripod mount usually has a 1/4″-20 threaded hole. On the bottom of your Nikon D3200 is a little hole like a 1/4″-20 threaded hole.
Make sure you line up the screw on the tripod to go into the camera’s spherical recess. There should be a lever on your tripod to tighten down the tripod onto the camera. If you don’t have a QR plate, turn your lever back down to lock the head into place.
If you cannot get or use a tripod, consider using the Vibration Reduction Feature with the kit 18-55 mm lenses. Vibration reduction cuts back the distorting effects of camera shake. The VR switch is below the A-M (Auto/Manual) focus switch. Push to turn it on.
If you are using a tripod for long exposures, do not enable the VR. Use the VR when shooting with a telephoto lens at slow shutter speeds. If working with a zoom lens, do not use it with the VR on.
Conclusion
The quality and clarity of your images will depend on your settings and how you choose to use them. It’s important that you set the right ISO, shutter speed, and aperture. If you follow these tips and tricks, you will be able to take any picture with confidence and success.