
As an Amazon Associate we earn from qualifying purchases.
Photo-editing in Lightroom can allow you to improve the image’s appearance and stylize it in ways that wouldn’t be possible in a camera. Learning how to sync settings in Lightroom will help you edit one photo and apply the same changes to other photos with a mouse click.
How to Sync Settings in Lightroom
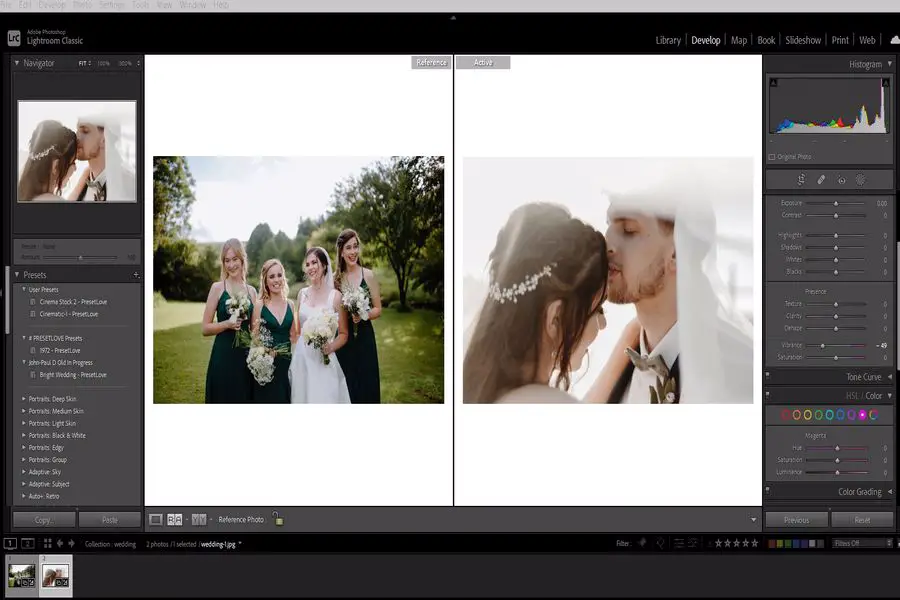
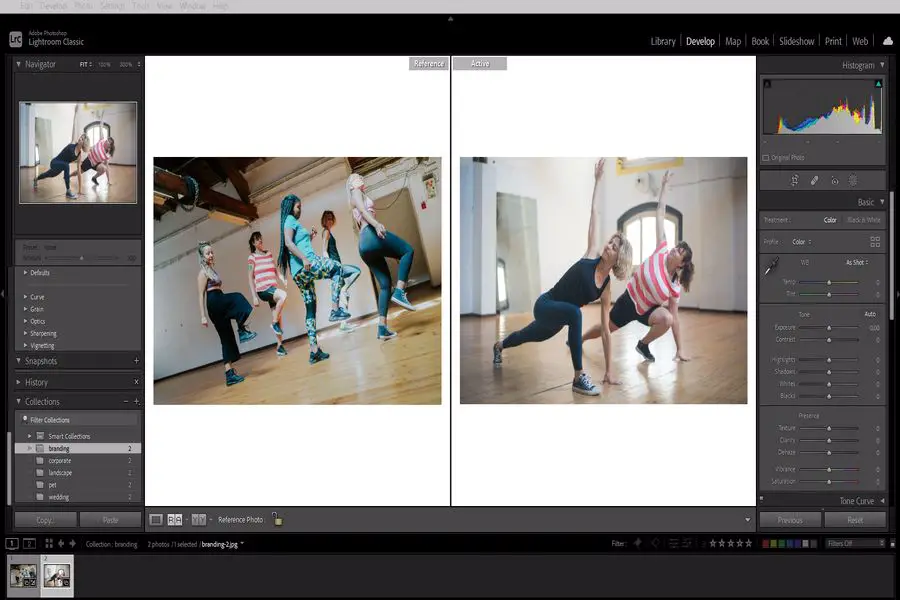
Syncing in Lightroom is simply taking global adjustments to a photo you edit in the Lightroom Develop panel and applying those adjustments to other images. If you have multiple images of the same exposure, style, and white balance, you can edit one of them and synchronize the settings.
The sync setting helps speed up the editing process, saving time. However, when using the sync setting, you should avoid some options in the sync window, such as spot removal, local adjustments, and cropping.
Unless you want to apply the same brush strokes on each image, you should uncheck that option also. Regardless of the complexity of the photos you are editing, the following are different syncing methods that can help to cut down the editing time.
The Standard Synchronize Function
It is the most widely used method to sync settings from one photo to other photos. You can use this method when syncing develop settings in a batch of images captured in similar scenes.
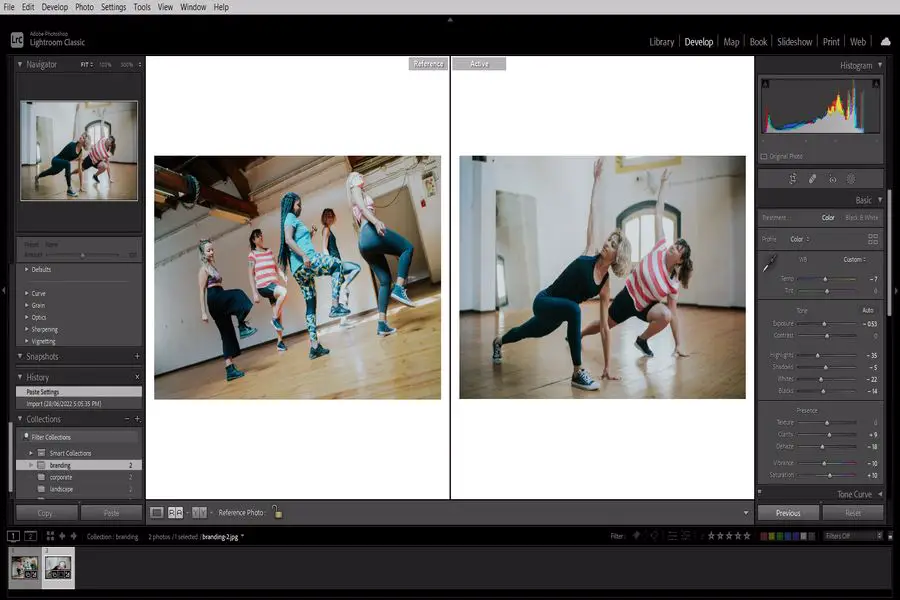
- Begin by selecting the first image you want to apply changes, such as fixing shadows, blur settings, and white balance, and use it as the master photo.
- Hold down the Shift key on your keyboard.
- Click on the last photo in the filmstrip of your catalog to make a selection order.
- If selecting non-sequenced photos, hold down the Ctrl key on your Windows PC or Command key on your Mac and click on every photo you want to sync.
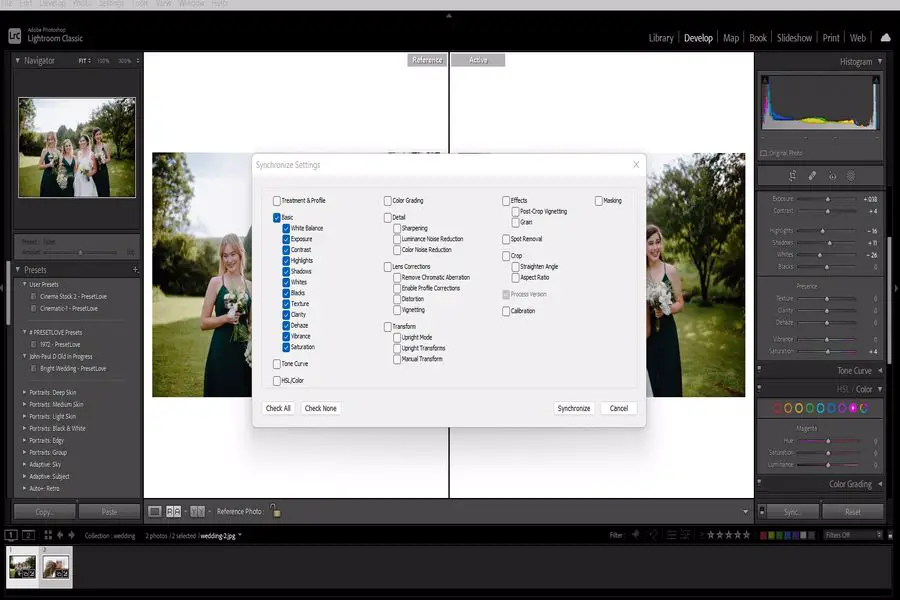
- After choosing the images you want to sync, click on the Sync Option in the lower right corner of the develop module, and the Synchronize Settings Dialogue Box will appear. You can also bring up the dialogue box by hitting Ctrl + Shift + S on your keyboard.
- If the button says Auto-Sync, click on the little box closer to the button to switch to Sync. Typically, this is because the Auto-Sync and the Sync button perform different tasks.
- Click on the Check None option at the bottom left of the dialogue box. Keeping in mind that you made changes in the Basic Panel, you will select the settings in the Clarity and Basic Tone boxes.
- From the dialogue box, choose the exact settings you want to have synchronized from the master photo to the other photos.
- Once you are through with choosing the settings you want to paste, hit Synchronize.
The Auto Synchronize Function
Unlike the standard sync function, the Auto-sync function is not used to apply different adjustments in a batch of images. However, you can use it to apply a certain preset across multiple images without syncing them in any other way.

If you have taken multiple images in the same scene, using the same camera settings, you can enable the Auto-sync function and apply all your adjustments at once. After the common changes, you can de-select the group and make any other changes individually.

Start by selecting the photos you want to apply the preset on by holding the Shift key and clicking on the last image. Click on the Auto-Sync button in the lower right of the Develop Module. Choose a preset from the Presets Panel, and the preset will apply to all the photos in your group.
The Previous Button
With the Previous button, you do not need to navigate through the Synchronize Settings Dialogue Box as you do not work with a large number of images. The Previous button allows you to copy the adjustments you make on one image and apply the same settings on another image on a few images in a row.
You can find this tool under the panel on the right-hand side of the Lightroom interface or press Ctrl + Alt + V on your keyboard. When using the Previous button, you begin by choosing an image, then make the adjustments you want to make to that photo. From there, choose the next image and hit the Previous button.
The photo you select doesn’t need to be in consecutive order as the Previous button duplicates the settings from the photo you viewed last and not necessarily the photo right before it. The nature of this tool makes it effective when editing photos from the same scene.
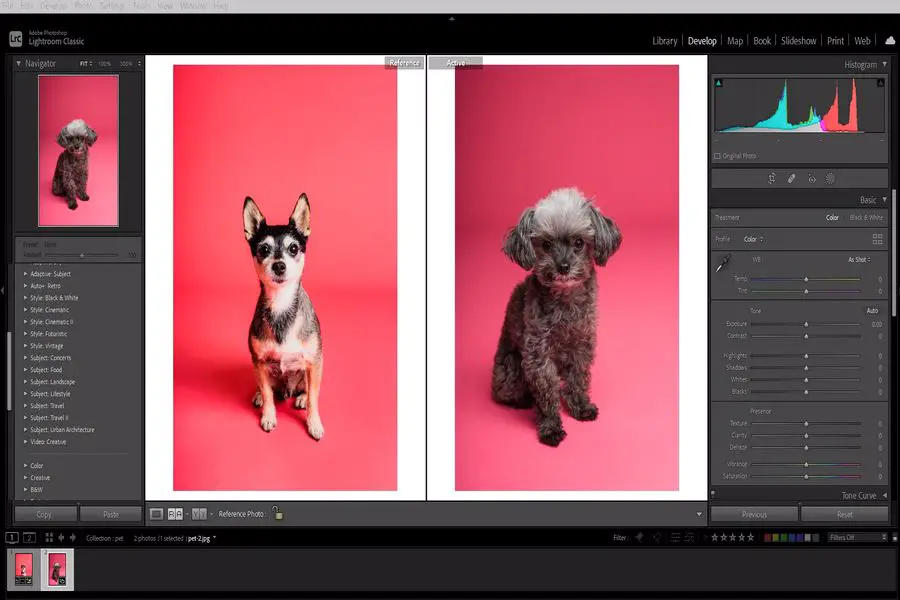
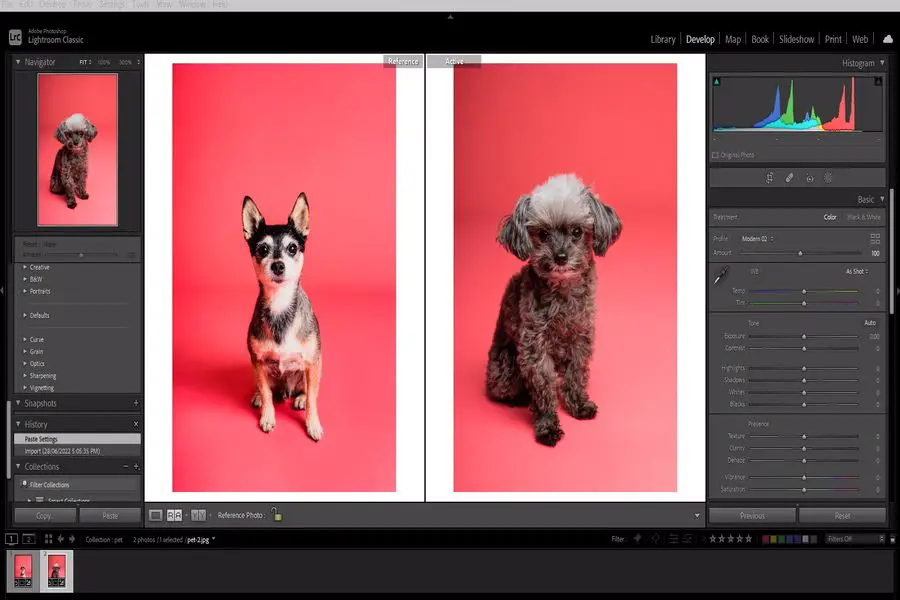
The Copy and Paste Function
Navigate to the Develop Module and choose an image. Remember that you should already have the settings or presets applied to that image. The Copy and Paste Function enables you to copy the develop settings from one photo and paste the same settings to the photo of your choice.
Hit the Copy button in the left corner of the window or press Ctrl + Shift + C on your keyboard to open the Copy Settings Dialogue Box. From the dialog box, choose the settings you want to copy. If you want to copy all the adjustments from one image to another, click on the Check All button.
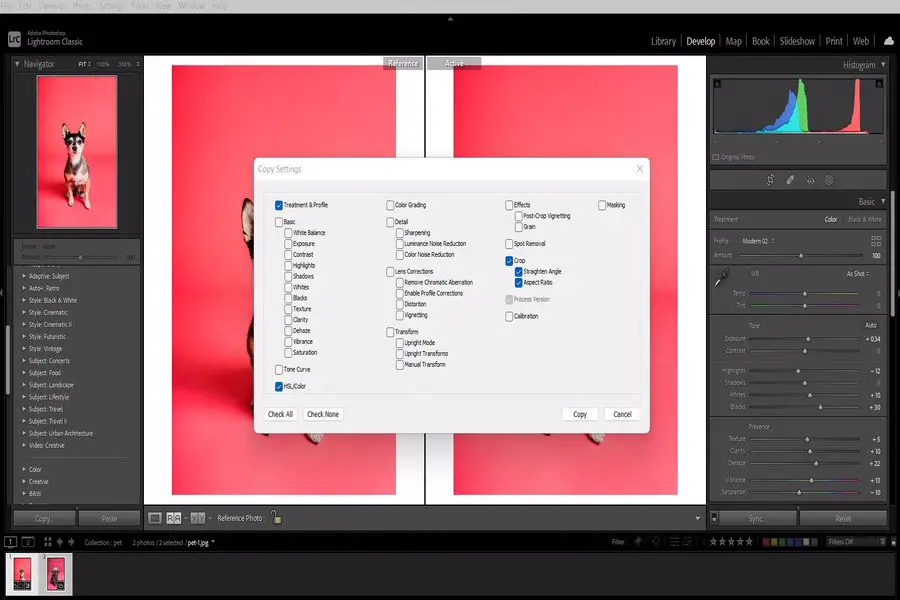
Alternatively, you can click on Check None to manually choose your adjustments if you want one or two settings to be copied. After making your adjustments, hit the Copy button. Near the Paste settings, choose another image from your filmstrip. Hit the Paste button to paste the adjustments on the new image.
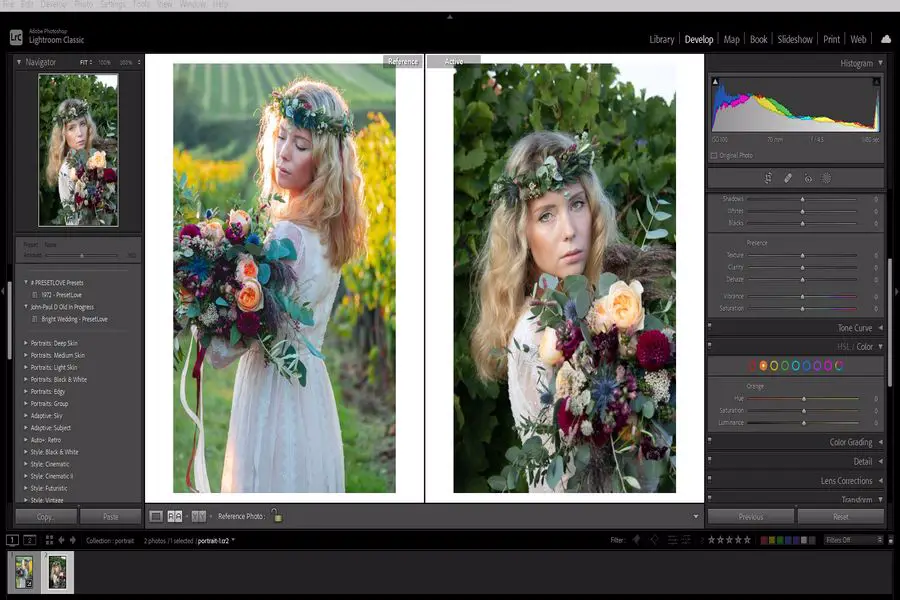
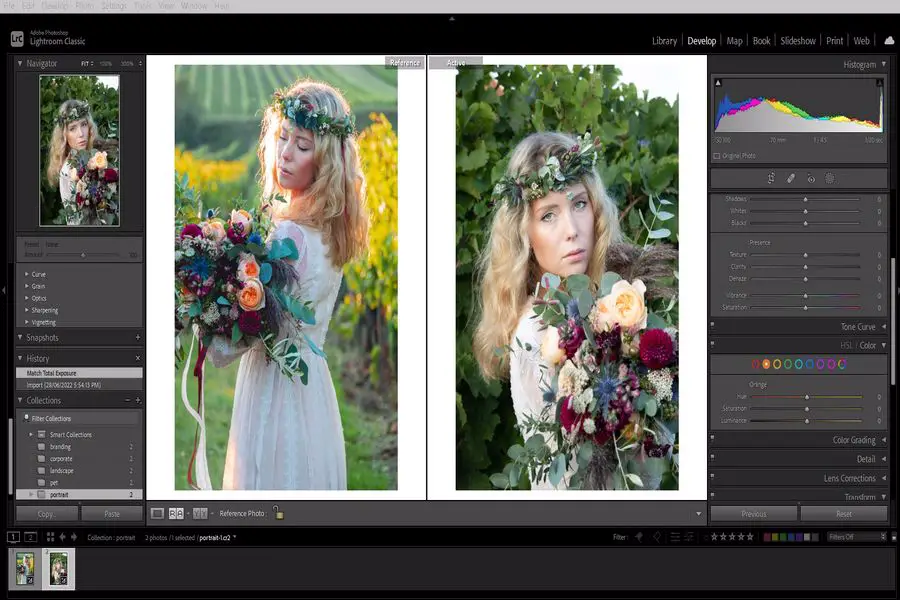
Match Total Exposures Option
In most cases, you may find that multiple images in Lightroom that were captured with the same camera settings have varying exposures. Manually adjusting the exposure of every image might be time-consuming, and that is where the Match Total Exposure comes in handy.
Launch the Develop Module, select the image you want to use as the master photo, and set the exposure you desire. Choose the images you want to match the exposure by hitting Ctrl + Alt + Shift + M. Keep in mind that the photos should be from similar scenes.
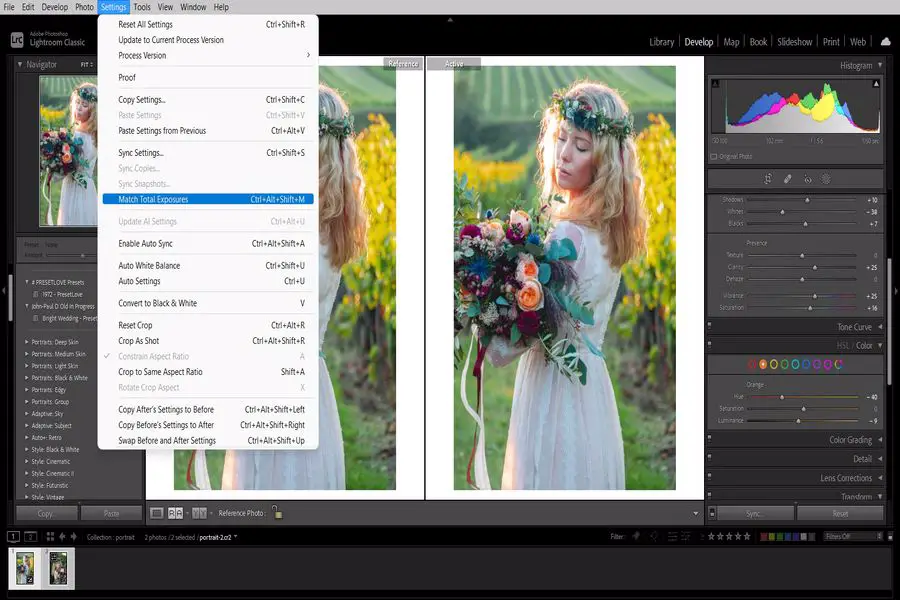
Using this tool on images from different scenes might make the results less appealing due to mismatches in other settings. After selecting your images, choose Settings from the top bar and choose Match Total Exposure from the drop-down menu. Once you click on it, it will match the exposures across the images.
Frequently Asked Questions
How Can I Fix Sync in Lightroom?
Navigate to the Lightroom tab in the preference dialog box, and hold down the Option key on Mac or the Alt key on your PC. The Rebuild Sync Data button will appear. When still holding the Option or Alt key, click on that button and then click on the Continue button that appears on the confirmation dialog
How Can I Do Away With All the Synced Photos in Lightroom?
Launch Lightroom and choose All Synchronized photos from the catalog panel in the Library module. Choose all images from this group that is not synchronized, add them to any synchronized collection, and then delete the images from the synced collection.
What Is the Function of a Sync Folder in Lightroom?
A synchronizing folder assists you in using Lightroom to trace all the versions and adjustments you made outside Lightroom. Additionally, it helps you organize your images to be in the same size and order.
Final Thoughts
It can be challenging to control the different settings, like when capturing photos at night or when the sunlight is too bright, forcing you to edit the photos to enhance their composition. Having access to different Lightroom tutorials, and knowing how to sync settings in Lightroom using the different sync tools will help save you much post-production time.