
As an Amazon Associate we earn from qualifying purchases.
Most casual photographers tuck their cameras into their bags after sunset — but one of the best times to create stunning images is after dark. From the light of the stars to city skylines and light painting, night photography opens up a wealth of possibilities — and it’s particularly excellent for getting out of a photography rut and jump starting that creative adrenaline.
The problem is, the dark does weird things to a camera, creating blur, rendering the autofocus useless and creating weird colors. But, with a few simple techniques (and one essential piece of gear), you can learn how to take pictures in the dark. Night photography is quickly becoming one of my favorite ways to pursue photography as a hobby.
The kids are tucked in bed, the stars are spectacular and I can get shots that not any old Joe with a smartphone can get. From city skylines to starscapes, here’s what I’ve learned about night photography.
Contents
- Tweak Your Shots With Photo Editing Software
- Tripods Aren’t Optional
- Autofocus is Often Useless
- Look for the Light
- Watch the Weather — and Watch Out for Light Pollution
- Use Shutter Priority Mode — and Don’t Forget the Earth is Moving
- Don’t be Afraid to Experiment.
- Tweak Your Shots With Photo Editing software.
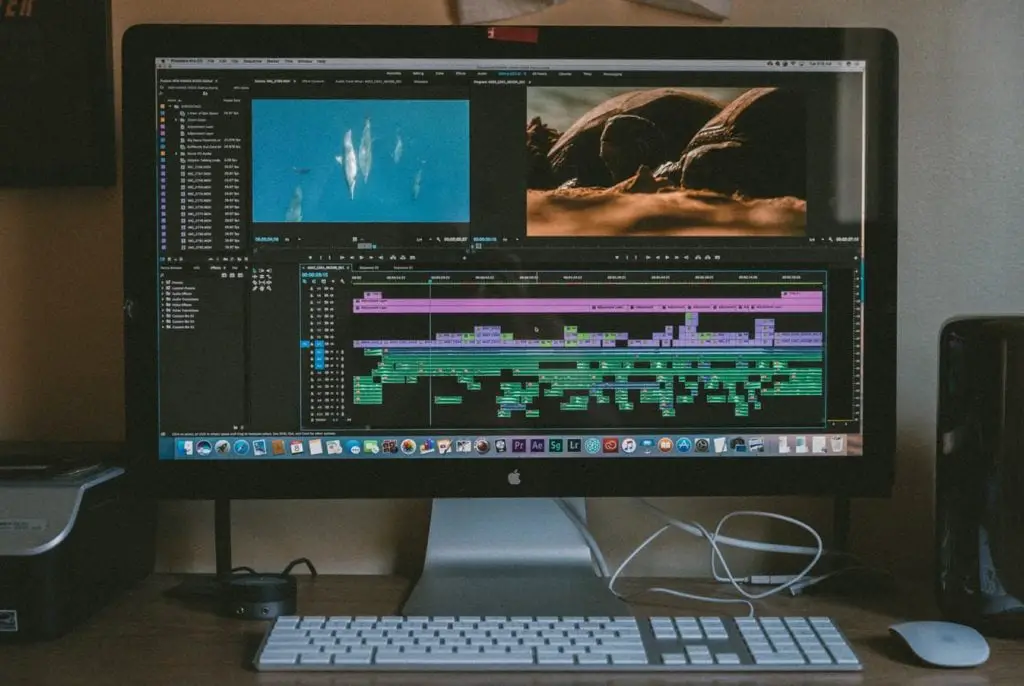
Tweak Your Shots With Photo Editing Software
Getting the details right in-camera is important for night photography, otherwise you’ll end up with a blurry or under-exposed shot. But, there’s a lot of improvements you can make to a good shot to make it great with photo editing software. Night photography often doesn’t leave much color in the shot — tweaking the color by adjusting the vibrance and saturation can often make a big impact.
Those light sources can also get even better by lightening the highlights and whites and darkening the shadows and blacks, naturally giving the photo more contrast. And if you plan to edit the photos, make sure to switch the file type to RAW before you shoot for the most flexibility. You can still edit a JPEG, but you can do more with a RAW file with the right programs.
A city often has a separate night life — well, photography has a night life too. Night photography opens up possibilities for a number of different techniques, including long exposure and light painting, as well as entirely different subjects, including starscapes, moon photography, unique street photography and a different take on architectural shots. Night photography requires a bit more gear and a bit more patience then shooting in the day, but both the quiet and the resulting photos are well worth the extra effort.
Most casual photographers tuck their cameras into their bags after sunset — but one of the best times to create stunning images is after dark. From the light of the stars to city skylines and light painting, night photography opens up a wealth of possibilities — and it’s particularly excellent for getting out of a photography rut and jump starting that creative adrenaline. The problem is, the dark does weird things to a camera, creating blur, rendering the autofocus useless and creating weird colors.
But, with a few simple techniques (and one essential piece of gear), you can learn how to take pictures in the dark. Night photography is quickly becoming one of my favorite ways to pursue photography as a hobby. The kids are tucked in bed, the stars are spectacular and I can get shots that not any old Joe with a smartphone can get. From city skylines to starscapes, here’s what I’ve learned about night photography.
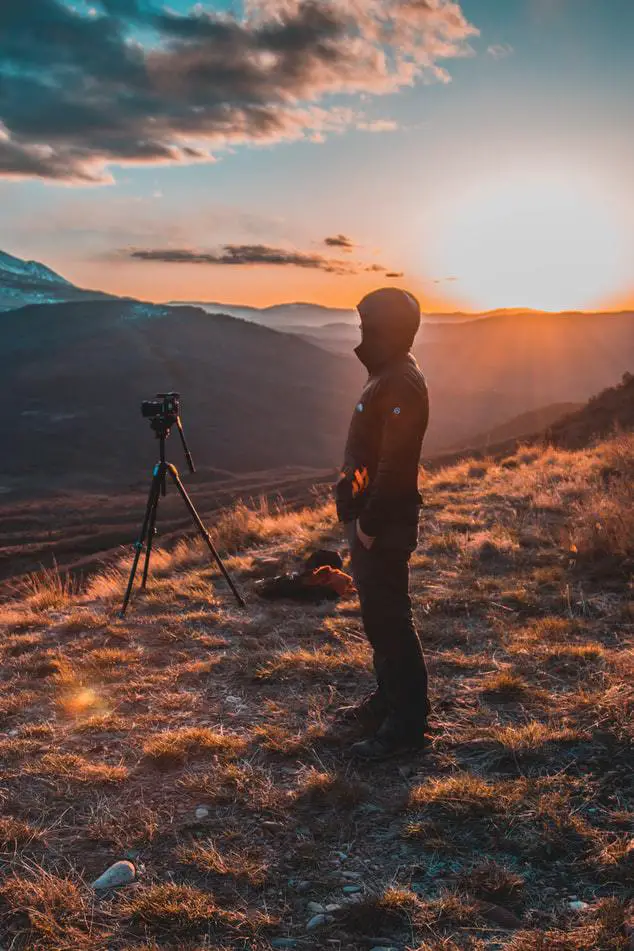
Tripods Aren’t Optional
You don’t need to spend thousands of dollars on fancy gear to take good pictures at night. But, you do need a tripod. Taking photos at night means using slow shutter speeds — shoot handheld, and you’ll just end up with a dark blur. Look for a tripod that’s easy to transport and sturdy enough to use in light wind — while you’ll get a better rig with a few hundred dollars, hobbyists can still pick up a decent budget tripod for under $100 or even under $50.
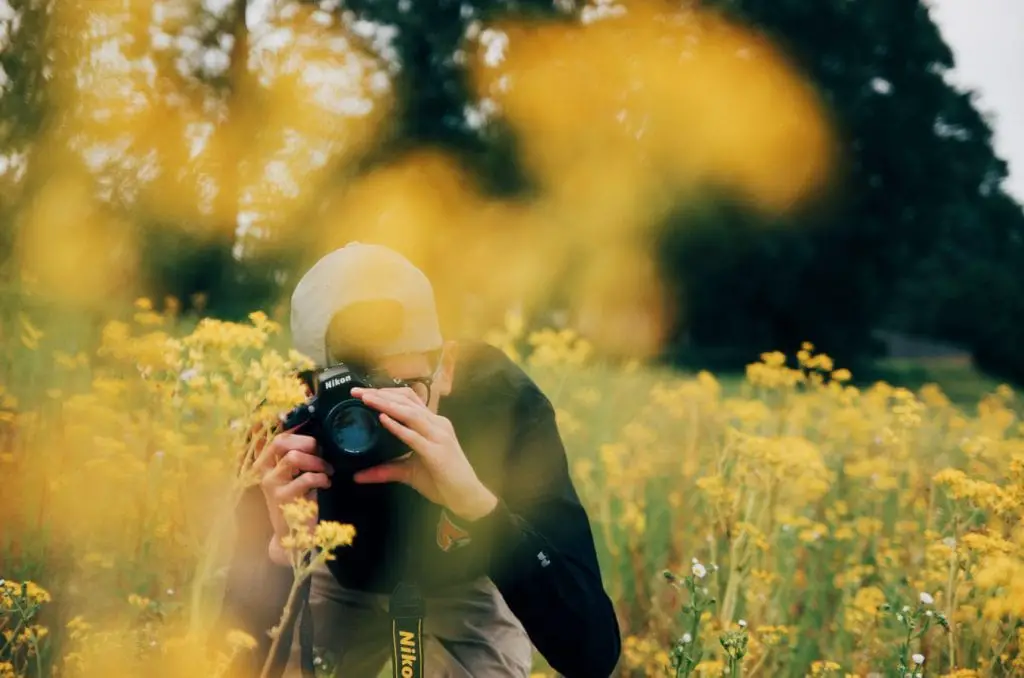
A camera with manual modes and manual focus, like a DSLR or mirrorless camera, is ideal. That doesn’t mean it’s not impossible to take pictures in the dark with a point-and-shoot, but you’ll need to rely on a night scene mode and you’ll have fewer customization options and a lower resolution, which means you might loose some details in that starry sky.
When shooting night photography, you’ll probably also want to bring along a flashlight, both for getting around and to see your camera’s settings and controls if you don’t have them memorized yet. Depending on the season and area you’re shooting in, you also may want to bring along a few other non-photo items and dress appropriately for the weather. For example, in my area in the summer, I can’t shoot without mosquito spray (or at least not without regretting it the next day).
Autofocus is Often Useless
A camera’s autofocus system needs light to work. While autofocus might work at dusk and under bright enough city lights, be prepared to use manual focus when shooting at night. Shooting with manual focus isn’t as hard as it sounds though. Most night photography subjects are quite distant — such as the stars, the moon or a distant city skyline.
If your subject falls into one of those categories, turn the autofocus ring to infinity, then slowly pull it back until you see the subject fully in focus. When shooting with manual focus, use all your camera’s available tools to help get a sharp shot. On any digital camera, you can take a photo, open the preview on the LCD screen, then zoom in to see if the shot is sharp or not.
On most cameras with electronic viewfinders (I’m talking to you, mirrorless fans), focus peaking is often available. This highlights what’s in focus in red, so it’s easy to see if you’ve got the focus right, even on a small screen. This option is usually inside the camera menu for camera’s equipped with the feature.
Look for the Light
Sure, night photography means taking pictures in the dark, but if there isn’t some sort of light source, you’re still going to end up with a black picture that you could have taken by staying home and forgetting to take the lens cap off. As you consider composition in night photography, base your decisions on where the light is. Identify the light sources and look for creative ways to use them — put the light source behind an object to create a silhouette, or look for interesting shadows. Out of focus light becomes beautiful bokeh, so look for light to include in the distance as well.
Moving light is also excellent for a form of night photography called light painting — look for moving light sources that are already there, such as moving traffic or even lightning bugs. Or, stand in front of the camera with a flashlight, sparklers or a light wand and create your own light patterns.
Architectural photography takes on an entirely different look with the building’s night lights on. The night sky becomes an entirely different phenomenon. Roads become perfect streaks of light. When you compose at night, looking for how the light splays across the scene is essential.
Watch the Weather — and Watch Out for Light Pollution
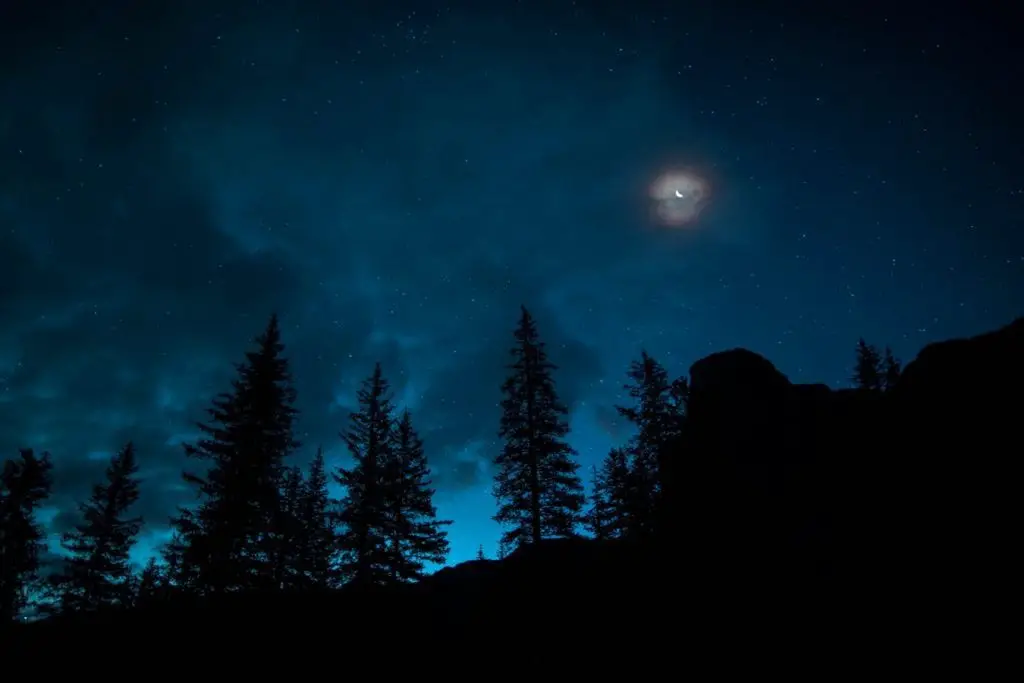
A night photography shot taken in the same location but on a different day can have an entirely different look. Watch the weather to make sure it fits with the shot you have in mind. Look for a clear day for getting the best star shots.
The phase of the moon will also play a role. When the moon is full and the sky is clear, you can pretty much shoot anywhere and just use the light of the moon to light up the scene. If you want to shoot stars, however, wait until a new moon (or at least a small moon), otherwise, the light of the moon will actually drown out some of those stars, making it look like there are fewer stars in the sky.
Location also plays a big role for more than just the scenery that’s there. Light pollution, or light from artificial sources, can either help or hurt the shot. If you want a sky full of stars, you have to get away from the city lights — the farther away the better. Even being half an hour outside of city limits won’t get you the same results as being hours away from any major cities.
Of course, if you’re not shooting the night sky, light pollution can also help. Artificial lights can make great photography subjects too — and even if there isn’t a light right in the composition, if you are in a metropolitan area with lots of light pollution, you can probably still get the shot, whether or not you have a full moon to help.
Use Shutter Priority Mode — and Don’t Forget the Earth is Moving
Shutter priority mode is an excellent shooting mode for night photography, particularly for newbies that haven’t quite mastered manual mode yet. Shutter priority mode allows you to set the shutter speed — or how long the camera is actually recording an image for — and ISO or sensitivity, while selecting the aperture automatically.
But what shutter speed is best for night photography? Night photography requires longer than normal shutter speeds, but it’s also easy to put too much stake into that tripod and use shutter speeds that are too long. Why? Because the earth is actually moving, you could blur some subjects unintentionally. For sharp stars (or a very detailed moon), keep that shutter speed in seconds, not minutes. If you want to photograph star trails with the stars appearing to streak across the sky, on the other hand, you’ll want an exposure that’s 20 minutes long or more.
You can also accidentally overexpose if you choose an exposure that’s too long. Lights from traffic can be brighter than you think — make sure you check your exposure before you move on to the next spot.
For ISO, leave it as low as possible, but don’t be afraid to bump it up if that allows you to get the shot. For example, for a several minute exposure for star trails, use a low ISO. For sharp, stationary stars and a shorter shutter speed, use a higher ISO so you can get the exposure right without blur.
Don’t be Afraid to Experiment.
One of my favorite things about night photography is that’s it’s usually quiet and I can work at my own pace. That means it’s easy to experiment. For example, when shooting the night sky, I experimented with different angles until I found the biggest cluster of stars and then centered my composition on that section of the sky for my favorite shots from that evening.
Try different shutter speeds, particularly with moving subjects. Move around and look for interesting compositions. Play with your camera’s color profiles. Try shooting an high dynamic range series to merge together later in post processing. Use exposure compensation to create a different mood in the image.
Tweak Your Shots With Photo Editing software.
Getting the details right in-camera is important for night photography, otherwise you’ll end up with a blurry or under-exposed shot. But, there’s a lot of improvements you can make to a good shot to make it great with photo editing software. Night photography often doesn’t leave much color in the shot — tweaking the color by adjusting the vibrance and saturation can often make a big impact.
Those light sources can also get even better by lightening the highlights and whites and darkening the shadows and blacks, naturally giving the photo more contrast. And if you plan to edit the photos, make sure to switch the file type to RAW before you shoot for the most flexibility. You can still edit a JPEG, but you can do more with a RAW file with the right programs.
A city often has a separate night life — well, photography has a night life too. Night photography opens up possibilities for a number of different techniques, including long exposure and light painting, as well as entirely different subjects, including starscapes, moon photography, unique street photography and a different take on architectural shots. Night photography requires a bit more gear and a bit more patience then shooting in the day, but both the quiet and the resulting photos are well worth the extra effort.