

What Is Image Stabilization? A Practical 2026 Guide
What matters in 2026
Image stabilization reduces blur from camera movement; it does not freeze a moving subject. Lens stabilization, in-body stabilization, and electronic video stabilization work differently and should be tested at the focal length and shutter speeds you actually use. This refresh preserves the original page address and publication history while replacing outdated advice with a current, testable workflow.
Begin with the photograph, recording, or maintenance result you need. Separate technique from equipment, confirm the exact system and support requirements, and use a repeatable test before changing several variables or buying more gear. The sections below explain the topic in practical order and keep recommendations tied to observable results.
Separate camera shake from subject motion
Stabilization helps when the photographer cannot hold the camera steadily at a chosen shutter speed. A walking person, bird, athlete, or blowing leaf may still blur, so action requires a fast enough shutter. Longer focal lengths magnify shake, while high-resolution sensors reveal small errors. Use stabilization as extra margin, not as a substitute for exposure choices or sound support.
Understand the three common systems
Optical lens stabilization moves a lens group, in-body stabilization shifts the sensor, and coordinated systems may combine both. Electronic video stabilization crops and transforms frames, which can reduce field of view or create edge artifacts. Performance varies by lens, axis, distance, and movement. Read the camera-lens compatibility notes because adapted lenses may need focal-length entry or may not coordinate fully.
Test tripod and panning behavior
Modern systems often detect a tripod, but follow the manual for long exposures, pixel shift, and supported lenses. Some lenses provide a panning mode that stabilizes one axis while allowing deliberate motion. Compare several frames with stabilization on and off, using normal posture and the final output size. The advertised stop rating is a laboratory reference, not a guarantee for every user or subject.
Define the result before choosing settings
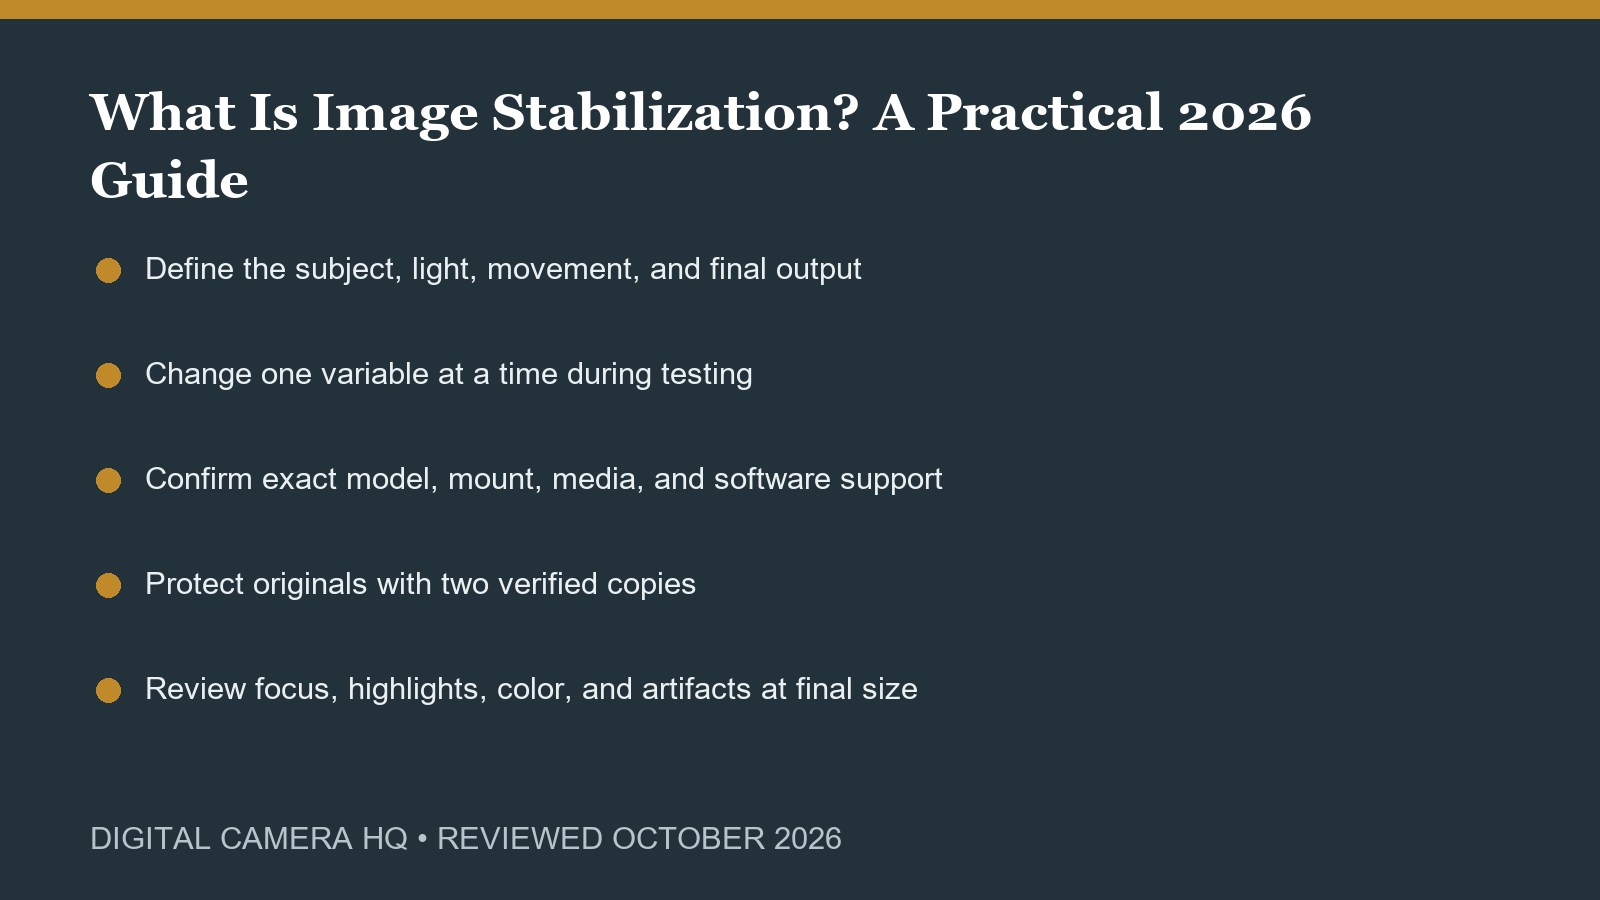
Write down the subject, light, distance, motion, final output, and the failure you want to prevent. This turns a broad topic into a repeatable decision. Test with the equipment already owned before assuming a purchase is required. A controlled comparison should change one variable at a time, use the same scene, and judge the delivered photograph or video rather than an isolated specification.
Keep exposure, focus, and stability separate
A soft or noisy image can come from camera shake, subject movement, missed focus, insufficient light, aggressive cropping, or processing. Diagnose each cause independently. Use a support when the subject allows it, choose enough shutter speed for movement, focus on the intended plane, and expose without sacrificing important highlights. Review several frames because one lucky result is not a dependable workflow.
Check compatibility and current support
Confirm the exact camera, lens mount, format, battery, card, cable, application, computer, and firmware. Similar product names can hide different generations or regional versions. Read the official manual and support notes before changing firmware or buying an accessory. A feature that depends on an unsupported phone app, unavailable battery, or incompatible editor may be less useful than a simpler supported option.
Protect the files from capture to delivery
Use reliable cards, copy photographs to two separate locations, verify the copies, and only then format the card in the camera. Preserve originals and make edits nondestructively. Keep dates and metadata intact, export for the final destination, and restore a sample from backup periodically. The best capture has little value if it cannot be found, opened, or recovered later.
Test under realistic conditions
A short home test should include startup, controls, focus, stabilization, burst or recording, battery, heat, card writing, transfer, editing, and export. Inspect important frames at full size, then judge them again at final output size. For used or newly purchased equipment, complete this process while the return period is open and keep packaging until the system has passed the test.
Use a before-and-after check
Make one reference frame or recording before changing the process, then repeat the same subject after the change. Keep framing, light, distance, and output consistent enough to identify the real effect. Compare sharpness, motion, highlights, color, noise, handling, and the time required from capture through delivery. A visible improvement in the final result is stronger evidence than a menu label or advertised specification. Repeat the comparison on a second subject and in less favorable light before treating the improvement as dependable. Keep both originals so later software updates can be judged against the same evidence and final output. Label the test clearly enough to repeat it months later.
Write down the dependable baseline
Save the working settings and a short note about the conditions in which they succeeded. Include any card, battery, lens, filter, microphone, support, cable, software, or export requirement. This baseline makes future troubleshooting faster and helps another photographer reproduce the result. Review it after major firmware or software updates, but avoid changing a reliable process immediately before an important assignment.
Make the process repeatable
Record the settings, equipment, light, subject distance, and result from the successful test. A brief checklist prevents the same problem from returning and makes future comparisons fair. Revisit the process after a firmware, software, lens, microphone, card, or computer change. Keep a known-good baseline so a new problem can be isolated quickly rather than blamed on every part of the system.
This article explains technique, maintenance, workflow, or system decisions rather than recommending a specific purchase. Shopping buttons would distract from that purpose. Use the official references and the controlled tests above, then buy only when a clearly defined need remains.
Official sources and review notes
- Canon image stabilization guide
Official manufacturer, developer, or support material was reviewed during the October 2026 refresh. Product availability and software features can change, so confirm the exact model and current support page before purchase or a critical assignment.
Final recommendation
Use the simplest process that produces a dependable final image or recording. Confirm compatibility, test in realistic conditions, protect the original files, and change one variable at a time. Buy only when a current product solves a repeated limitation that technique, maintenance, or equipment already owned cannot solve. That approach keeps the kit smaller, the workflow clearer, and the result easier to reproduce.