
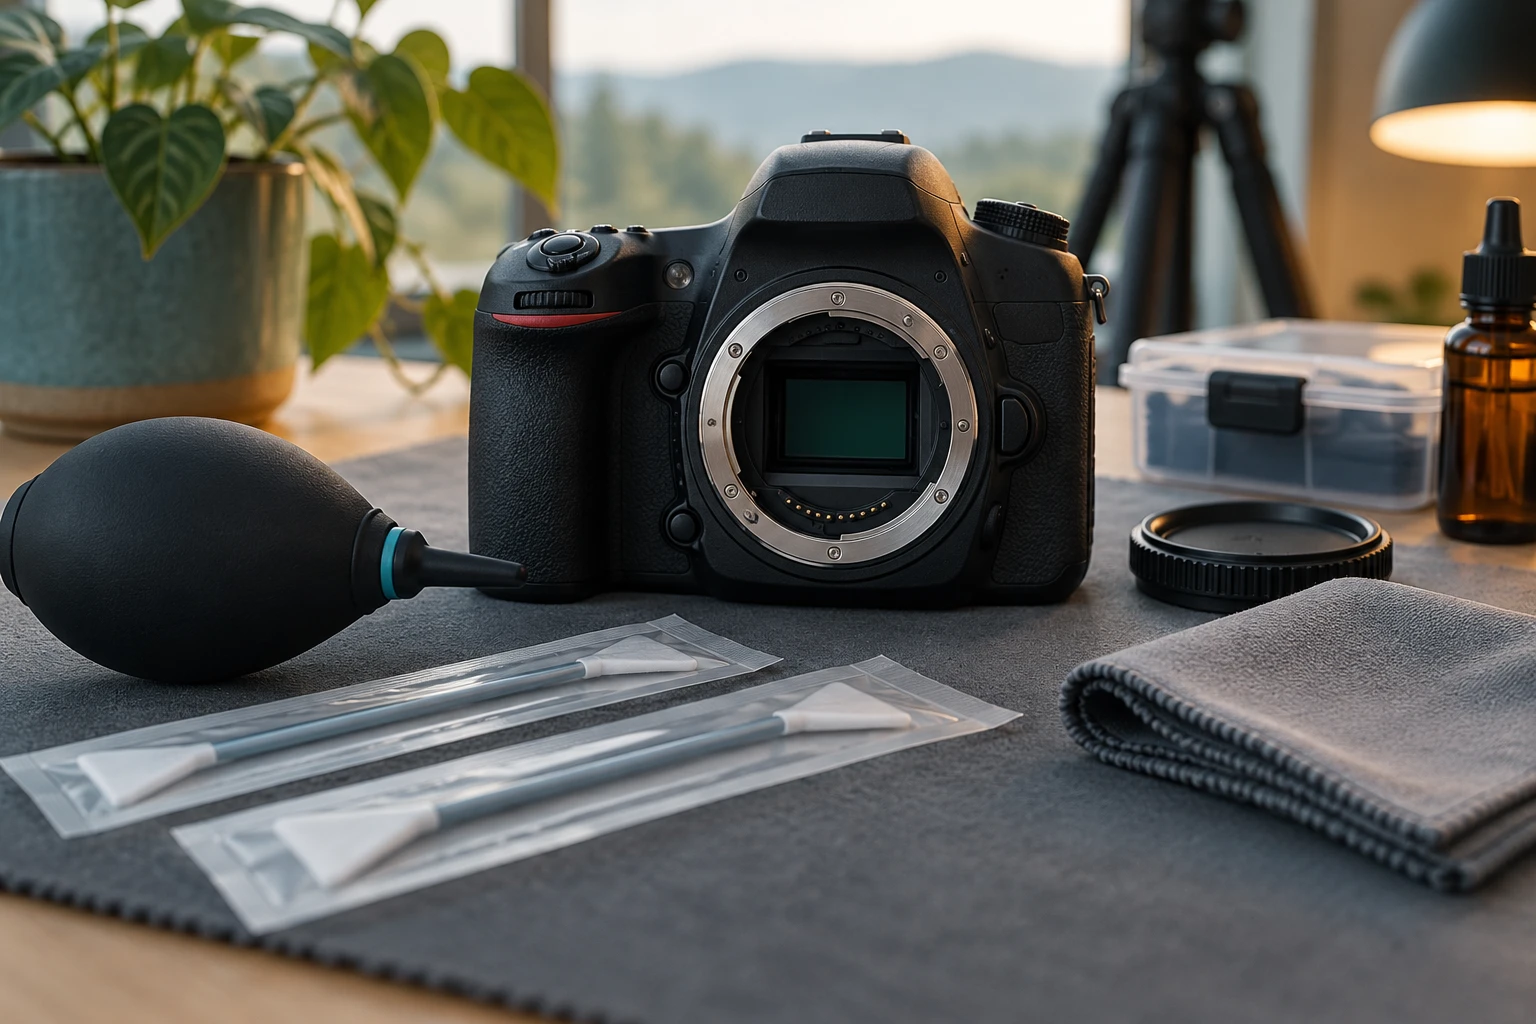
How to Clean a DSLR Sensor Safely
Confirm that the marks are sensor dust, start with the camera’s built-in cleaning and a hand blower, and use model-specific manual-cleaning instructions. If direct contact is needed and you are uncertain, use qualified service.
Confirm that the sensor is the problem
Dust on a DSLR sensor usually appears as dark, soft-edged spots in the same place across photographs, especially at small apertures such as f/11 or f/16. Clean the front and rear lens elements first, then photograph an evenly lit plain surface while moving the camera slightly during a long exposure so surface detail blurs. Examine the file at normal and enlarged views. A mark that changes with the lens may be on the lens; a fixed mark is more likely in the camera.
Use the automatic cleaning cycle
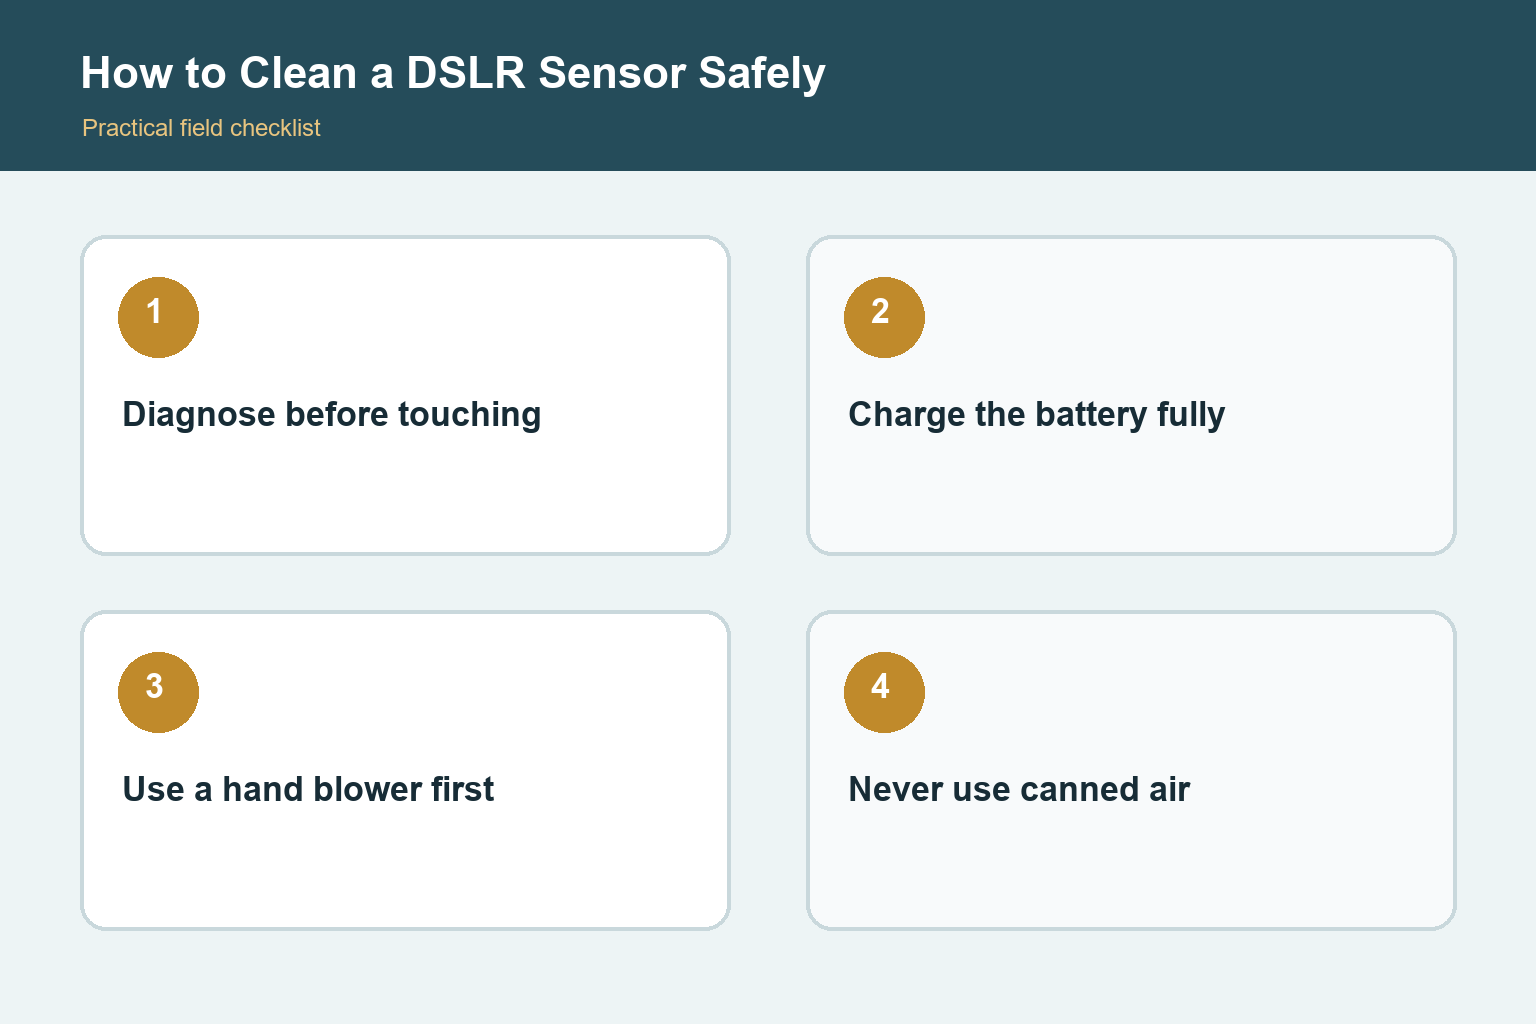
Many DSLRs vibrate a filter in front of the sensor during startup, shutdown, or a menu command. Run the documented cleaning cycle with a charged battery, then make another test photograph. Also use the camera’s dust-delete reference feature if available and compatible with your editing workflow. These steps do not remove every particle, but they avoid opening the shutter for direct cleaning and should come before manual contact.
Prepare a safe workspace
Read the exact model manual because mirror-lock and sensor-cleaning procedures differ. Work indoors in a clean, still room away from fans, pets, smoke, sprays, cooking, and open windows. Wash and dry your hands, clear the table, and place the camera where it cannot roll. Fully charge the battery or use the manufacturer-recommended power arrangement. If power fails while the mirror is raised, moving parts can close during cleaning and cause damage.
Use a hand blower correctly
Remove the lens with the mount facing downward when practical so loose dust can fall away. Enter the camera’s manual sensor-cleaning mode exactly as directed; ordinary bulb mode is not a substitute. Hold the body securely with the opening angled down and use a clean hand-squeezed blower without inserting its tip past the mount. Do not use canned or compressed air, breath, a vacuum, or a blower with loose powder or fluid. Avoid touching the mirror, shutter curtains, or sensor assembly.
Know the limits of wet cleaning
Stuck spots may require a sensor-sized swab and cleaning fluid specifically intended for the sensor’s filter stack. Use a fresh sealed swab, the minimum approved fluid, and the documented number of smooth passes. Never reuse a dirty swab or substitute household glass cleaner, alcohol of uncertain purity, cotton swabs, tissues, or microfiber cloths. A streak can be more difficult than the original dust, and excess fluid may travel to edges or internal layers.
When professional cleaning is the better choice
Use qualified service if the manual recommends it, the camera cannot hold the mirror safely, the battery or shutter is unreliable, the contamination looks oily, the sensor appears scratched, liquid entered the body, or repeated careful attempts make the result worse. Also consider service for valuable cameras when you have never performed a wet cleaning. Ask what the service includes and make a test photograph after the camera returns.
Prevent unnecessary repeat cleaning
Change lenses with the camera off and the mount pointed away from wind, dust, rain, and loose sand. Prepare the next lens before removing the current one, keep rear caps and body caps clean, and avoid leaving the body open. Store gear dry in a closed bag after it has acclimated from condensation. A few spots visible only at extreme aperture may be handled in editing until normal maintenance is convenient; repeated cleaning carries its own risk.
How to make the advice useful
Begin with a real shooting problem instead of a specification. Write down the subject, typical light, needed working distance, carrying limit, and the result you want to improve. Then test one change at a time. This keeps technique, equipment, and expectations separate. Review photographs on a larger screen, compare them at the same output size, and keep notes about the setting or position that actually changed the result.
A practical test routine
Use familiar subjects before an important trip or assignment. Make photographs indoors, outdoors, in motion, and at the closest distance relevant to the task. Check focus, exposure, background, handling, and file transfer while any return period remains open. Repeat weak results before blaming the equipment. Motion blur, missed focus, poor light, dirty optics, and an unsuitable viewpoint can look similar until the variables are tested carefully.
Keep the workflow dependable
Charge and label batteries, use reputable memory cards, format cards in the camera only after files are safely copied, and keep firmware and manuals associated with the exact model. Back up important files to at least two places. Add one accessory or setting change at a time so unexpected behavior has an identifiable cause. A simple routine that you understand will produce more reliable photographs than a complicated setup copied from someone else. Before travel, repeat the complete routine from capture through backup with the exact cables, cards, applications, and storage you plan to carry. A five-minute rehearsal can reveal a missing adapter or unsupported file before it matters.
Check the result, not only the settings
After each practice session, select a small group of successful and unsuccessful frames. Compare focus at the intended viewing size, inspect highlights and shadows, and ask whether the composition communicates the subject clearly. Keep one example of each common mistake with a short note about its cause. That simple record turns trial and error into a repeatable lesson and prevents changing several controls when only one adjustment is needed. Revisit the exercise in different light before deciding that the camera or lens has reached a hard limit.
Final perspective
Photography improves when the tool, technique, and subject support one another. Treat specifications as clues rather than promises, and judge the result at the size people will actually view it. Comfort and confidence affect whether the camera leaves the bag. Whatever option you choose, practice in ordinary conditions, review mistakes without rushing, and build a small repeatable process before adding more equipment or complexity. Save a final checklist with the camera so a successful setup can be rebuilt months later. Good documentation is especially useful when several people share the equipment or when a rarely used feature must work under time pressure.
Sources and review notes
- Canon manual sensor-cleaning guidance