
As an Amazon Associate we earn from qualifying purchases.
Even with a high-end tripod, camera and lens, you might not get the results you expect if you don’t set up your tripod correctly when shooting portraits. Learning how to set up a tripod for a portrait photograph will help you stabilize your tripod and minimize camera shake.
How to Set up a Tripod for a Portrait Photograph
Setting your tripod up can significantly impact your portraits, especially when shooting in windy conditions. Although many photographers only use a camera tripod to support and stabilize the camera when shooting portraits, you can still use it to support and elevate a flashlight to enhance the lighting.
For instance, you may need to set up several tripods with flashlights to properly illuminate the main subject to prevent shadows if you are shooting in low-light conditions. Regardless of your camera and lens type, the following tips can help you set up your tripod and improve your portrait photography.
Pick the Right Tripod
Like any other camera gear, tripods come in different sizes, styles, designs, and construction materials. When learning how to set up a camera tripod for portraits, you will need to pay attention to the tripod’s design and maximum load capacity, as they can significantly impact its usability.
Considering that you might need to use a heavy full frame camera to shoot the portraits with a shallow depth of field, go for a sturdy tripod that can withstand the weight of the camera and the lens.
Usually, the stability of a tripod setup depends on the tripod’s maximum load capacity in relation to the weight of the camera gear. Mounting a heavy camera gear on a low-end tripod might make it collapse, especially in windy conditions. This is why it’s also important to plan the best time to take photos when shooting outdoors.
Set the Right Tripod Height
In most cases, a tripod will have a maximum height of around 50 to 63 inches when you extend the three legs. However, most camera tripods also come with a center column that allows you to elevate the camera gear higher.
When setting up the tripod, consider the balance between the height of the person you are shooting, your height, and the tripod’s height. It’s advisable to set a height that will allow you to operate the mounted camera gear without straining or bending.
Unless the person you are shooting is standing and you want to shoot at eye level, it is not advisable to extend the center column of the tripod as it might interfere with the stability of the camera and cause motion blur.
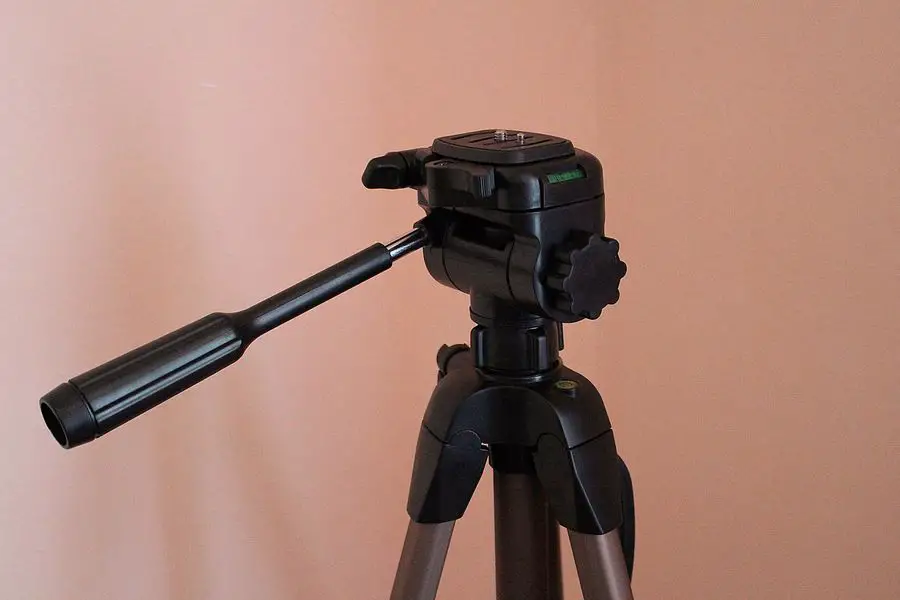
Use the Right Tripod Head
It is not uncommon to find people unknowingly tilting their heads when posing for photos. Although you can use a three-way pan head to shoot portraits, it is advisable to use a ball head as it is flexible, versatile, and easier to set these varying tilts and angles.
Keeping in mind that you might need to use a huge telephoto lens to shoot portraits, it’s advisable to use a large ball head that can sustain the weight of the camera gear and give you accuracy when adjusting it.
Extend the Tripod Legs Starting With the Thickest Ones
Considering portrait photography requires a heavy full frame camera and a heavy telephoto lens to produce a beautiful bokeh quality, you will need a stable tripod set up to support the heavy weight safely.
Although extending the thickest sections first might seem counterproductive, especially when you need to make frequent adjustments, it helps to improve the overall stability of the tripod. That means you will use the center column as the last option.
Position the Tripod Legs in the Right Place
After extending the legs of the tripod and obtaining the right height, you will need to position them on stable ground. Although most tripods come with rubberized legs to help improve grip when setting them up on slippery grounds, it is still advisable to check and ensure the surface can provide a good grip.
Keeping in mind that telephoto lenses are generally long and heavy, they tend to shift the center of gravity towards the direction they are facing. That means a tripod can tip over even with the legs fully extended if there is no leg set to counter the effect of the telephoto lens.
Therefore, it is advisable to have one of the legs stand in the lens’s direction and then position the other two in a way you can stand between them. This positioning also helps to reduce the chances of accidentally knocking one of the tripod legs.
Level the Base
Before mounting your camera gear or trying to level your ball head, it is advisable first to level the tripod’s base. Usually, this is the tripod area from the center post to the end of the extended legs.
If you’re setting up your tripod on sloppy or uneven ground, it is advisable to put one leg of the tripod downhill and then extend it more than the others. Even if you started by extending the tripod using the thicker sections, you can use the lower leg section for finer adjustments.
You can also check if your tripod comes with a bubble level that can help you balance the base section. Adjust the legs until the bubble level balances in a centralized spot perpendicular to the ground.
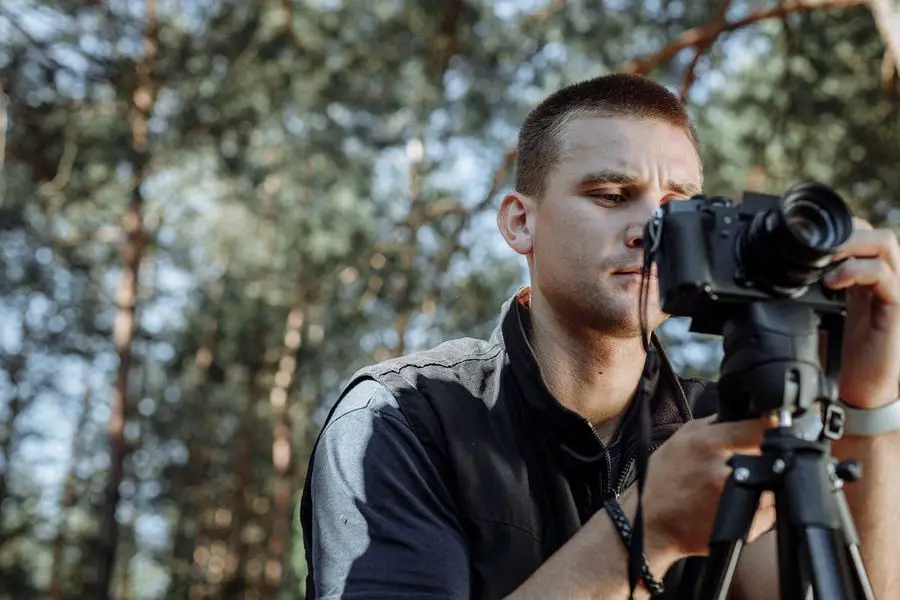
Mount the Camera
Although most photographers prefer leveling the ball head before mounting the camera, it is advisable first to mount the camera and then level the ball head as a person you’re shooting might keep on changing poses.
Most modern cameras come with a tripod mount which is around a 1/4 inch hole with screw threads at the bottom for mounting it on the tripod. Keep in mind that different plates and cameras feature different screw sizes, and it is not a must for your camera to be compatible with the tripod plate.
- Although it is not a must, it is easier to detach the camera plate using the quick release lever.
- Screw the camera on the quick-release plate.
- Reattach the plate back to the tripod by pulling back the quick release clip, fitting the tripod plate back to the tripod head, and then releasing the clip.
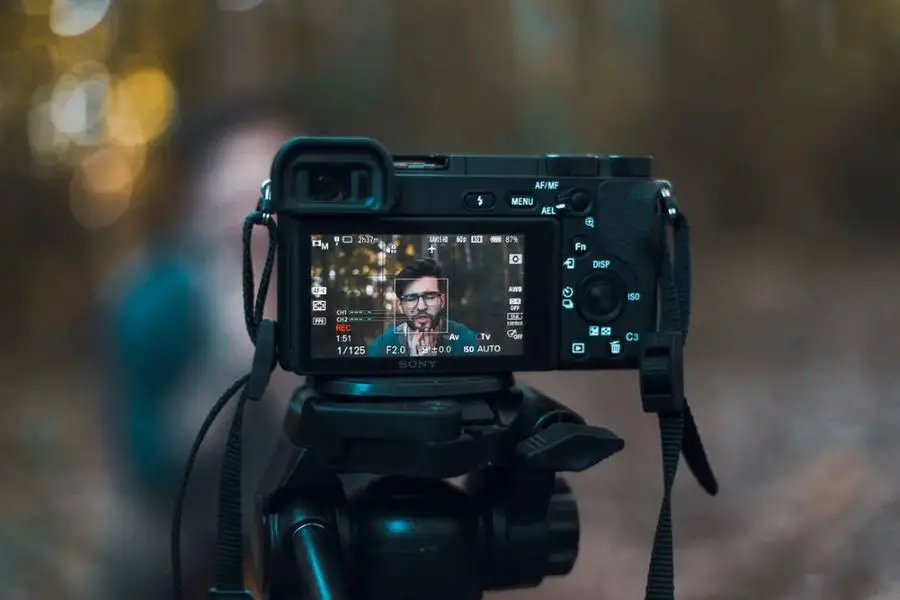
Level the Ball Head
After stabilizing your tripod and mounting your camera and lens, you need to level the ball head to capture a portrait at eye level. Regardless of how the person you are shooting is posing for the photo, you can use the following tips to level the ball head and take a perfect portrait.
- Check for a bubble level on the quick release plate or near the ball head.
- Use the adjustment knob to loosen the ball head so it can move freely from side to side along the horizontal axis.
- Adjust the ball head until the bubble level settles between the leveling lines
Frequently Asked Questions
How Can I Stop My Camera Tripod From Blowing Over When Taking Photos?
The best way to stop a camera tripod from blowing over when taking photos is to improve its stability by adding weight. In most cases, a tripod will have a hook at the bottom of the center post, where you can hook an additional weight or attach the tripod to the ground.
How Tall Should the Tripod Be When Shooting Portraits?
The tripod should be tall enough to allow you to comfortably operate the camera and capture the person at eye level. In most cases, the height to capture a portrait at eye level is around 60 inches.
Final Thoughts
Although a tripod helps capture high-quality photos without motion blur, you might not get the results you expect if you don’t know how to set up a tripod for a portrait photograph. Set the tripod on stable ground, extend the legs to enhance stability, and mount your camera.