
As an Amazon Associate we earn from qualifying purchases.
Creating panoramas used to involve hours in the darkroom, and even early in the digital photography revolution, an elaborate stitching process inside image programs. Now, most cameras are capable of taking panoramas, even wide 180 degree and even 360 degree images—in-camera, with just a few clicks. But, like any automated camera mode, the panorama feature has limitations that skew perspectives and leave photos just looking strange.
That doesn’t mean you have to skip the in-camera panorama mode and go straight to the complex stitching, though—these seven panorama tips help you take amazing panoramas, simply. Not sure how to photograph a panorama? Look in your scene mode menu for a panorama option.
Some cameras include the feature under the “drive” mode, where you’ll also see the settings for burst mode. If you still can’t find it, check your owner’s manual—even cameras from the same manufacturer can be set up a bit differently.
Contents
Understand Your Camera’s Panorama Mode
There’s more than one way to create a panorama. A camera’s built-in panorama mode is usually one of two options: a sweep panorama or an overlap.
The sweep mode is probably the most common. Pressing the shutter button once, you’ll slowly move the camera in a semi-circle, following the instructions on the screen. If your camera has this method, you’ll need to stay in one spot—try keeping your feet planted and swiveling at the hips to capture the entire view.
Make sure to move very slow as well, to increase the odds of getting a sharp shot. The overlap panorama mode will take a single image, then display it on the LCD screen so that you can match up the first image with the next shot. While not as simple to use, this method usually results in sharper shots.
If your camera uses this type of stitching (you’ll know because the camera doesn’t direct you to move the camera but to line up two images), you can actually move in a horizontal line instead of swiveling in a circle. Moving horizontally will help prevent perspective distortions, but only if your camera has the overlap mode.
Find the Right Scenes
The panorama mode is a great tool—but it won’t work for every shot. Motion doesn’t work in a panorama, at least not without more advanced techniques. Any movement between the images that are stitched together will blur or distort.
That’s why you see a lot of landscape panoramas, but not much with other subjects. Movement isn’t always obvious either—waves on a lake or the wind blowing through the trees can cause distortion in your images.
Try a Tripod
While the in-camera software does all the stitching for you, you’ll still get better results by using a tripod. A tripod will help ensure your panorama is shot from the same height, as well as reducing any motion blur, resulting in a sharper shot. Tripods help more than you’d think—but if it’s impossible to hike to the scene with that much gear, it’s okay to leave it behind.
Consider Your Composition
Composition is essential to any image, and panoramas certainly aren’t an exception. Start by planning how you envision your final shot. Where should you start and stop the panorama? What objects should you include—and where in the frame do you want to include them?

What distracting objects are in the scene and how can you crop them out? Don’t just start shooting a wide scene. Put some thought in where to start and stop the panorama. Oh, and don’t forget many panorama modes will actually work to take a vertical image too.
Stand Back
The most common issue with panoramic photos is that objects tend to get distorted from perspective errors or parallax. When you are capturing a view wider than the human eye can see at once, objects tend to get a little bit funky. There’s an easy fix—just back up.
The closer you are to the objects in the photos, the more you’ll see the perspective distortion. Elements in the foreground are more likely to get distorted—so if you do see them taking on some odd shapes, take a few steps back.
On a DSLR or Mirrorless: Use Manual Mode
If your camera’s panorama mode is inside the drive settings, you can choose any mode to shoot in. But here’s the issue: in automatic modes, your settings may change between the photos, causing errors in the stitching process. Instead, if your panorama mode isn’t inside the scene modes, use manual mode.
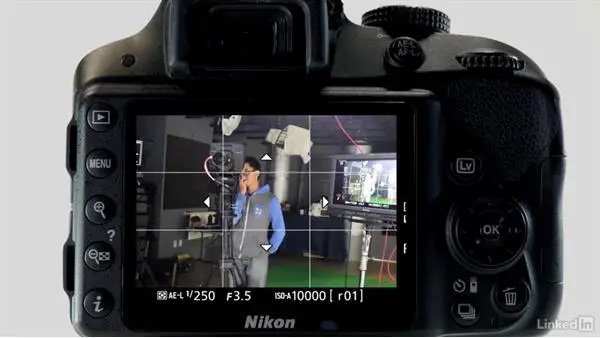
Using manual mode takes some patience and practice, but it comes in handy for more than just panoramas. If manual modes are too daunting just yet, try holding the auto exposure lock (AE-L) button to keep the settings consistent through the entire image.
On a DSLR or Mirrorless: Don’t Use a Wide-Angle Lens
The goal of shooting a panorama is to capture a wide view, so it’s best to use the widest lens you have, right? Not so fast. Wide angle lenses are more prone to perspective distortion on the edges, which can lead to problems stitching those photos together into a single image.
Instead, use a lens that’s closer to 50mm and backup if you need to. Not only does backing up prevent distortion, but you’ll also minimize errors from using a lens that’s too wide. If you use a polarizing filter, take that off for the panorama, or the sky won’t stitch properly.
Panoramas create some amazing images—but the process to shoot them doesn’t have to be so elaborate. With the in-camera stitching, the process is much simpler, and most cameras will still get you pretty good results. While the pano mode is simpler, there’s still a few panorama tips that will help you make the most of the camera’s feature, from finding the right scene to standing farther back to avoid parallax errors.