
Reviewed and updated: November 1, 2026
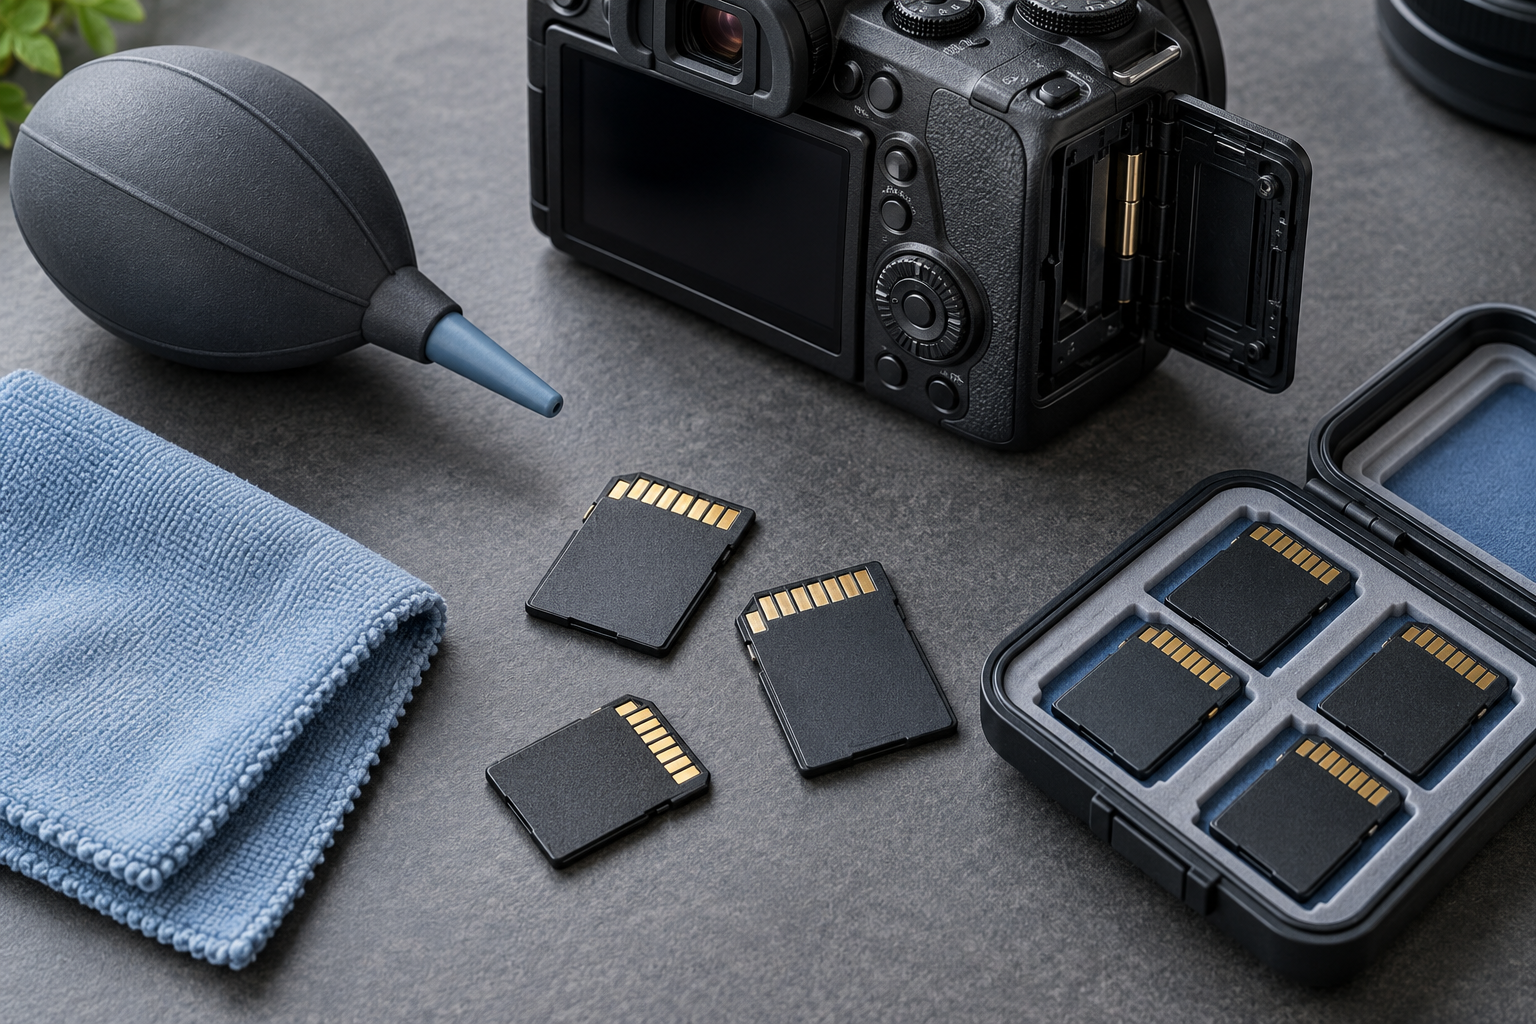
Memory cards fail for many reasons, but ordinary handling damage is one of the easiest risks to reduce. The gold contacts should remain clean, flat, and protected from fingers, liquids, grit, and pressure. A quick visual inspection can identify obvious problems before a shoot, while a sensible storage and transfer routine prevents many problems from developing. Cleaning should be conservative because aggressive rubbing can create more damage than a small speck of dust.
Power down before removing a card
Wait until the camera finishes writing, then turn it off and allow the activity light to stop. Removing a card during a write can corrupt files or the card’s file system. Open the door only in a clean, stable place. If the camera uses two slots, note which card belongs to which slot before removing either one.
Push or release the card using the mechanism described in the manual. Do not pry it with a tool. Hold it by the edges and move it directly into a case or reader. The contacts should not touch the table, clothing, or a pocket.
Inspect under angled light
Use a bright diffuse light and tilt the card slowly. Normal contacts should look even and attached. Look for deep scratches, corrosion, discoloration, residue, cracks in the plastic, a bent write-protect slider, or separation around the contact area. Fine parallel marks can appear through normal insertion; the concern is a new gouge, lifted material, or contamination.
Inspect the card slot without inserting anything. A hand blower can remove loose dust around the opening, but never force a nozzle inside or touch the slot pins. If you see a bent pin, liquid, or foreign object, stop and seek qualified service.
Keep fingers and liquids away
Skin oils attract dust and can transfer residue to the reader or camera. Hold SD cards along the narrow side edges. Do not wipe contacts on a shirt, use saliva, or apply household cleaner. MicroSD cards are especially easy to drop, so handle them over a clean tray or light-colored cloth.
If a card becomes wet, do not insert it to “see if it works.” Remove power from any affected device and follow the card and camera manufacturers’ guidance. Water exposure can leave conductive residue even after the surface looks dry.
Use air before contact cleaning
For a loose particle, start with a hand-squeezed bulb blower while holding the card contacts downward. Avoid canned air, which can expel propellant and create strong pressure. If the particle remains, stop and decide whether the card is valuable enough to replace rather than scrub.
A clean, dry microfiber cloth may be appropriate for a light edge-to-edge wipe if the card maker permits it. Use almost no pressure and avoid catching the card’s plastic edges. Do not use an eraser, abrasive pad, metal polish, or a cotton swab that can leave fibers.
Readers need inspection too
A dirty or damaged reader can mark several cards. Check its slot for debris and inspect the cable for strain. Place the reader where the card cannot be bumped sideways. If one reader repeatedly disconnects, test with a known-good cable and another reader rather than repeatedly reinserting an important card.
Use the operating system’s eject function before removing the card. Wait for transfers, previews, and backup software to finish. A thumbnail window can still be reading a card even after the copy dialog disappears.
Protect cards in a proper case
A rigid case with individual slots prevents contacts from rubbing against each other. Store cards with the contacts facing the protected side of the slot and use a consistent orientation for blank versus used media. Avoid loose cards in pockets, wallet coin sections, or camera-bag compartments that contain batteries and adapters.
Keep the case away from moisture, extreme heat, and crushing pressure. Label the case rather than writing across the contacts or forcing thick adhesive labels onto the card. Our memory card pocket comparison discusses capacity and closure choices for travel.
Separate a contact problem from a file problem
An error message does not prove the contacts are dirty. The card may have file-system corruption, compatibility limits, a failed memory controller, or a counterfeit capacity. Check the camera manual for supported card types and capacities. Test only with backed-up media and avoid formatting a card that contains the only copy of important photos.
If files are missing or unreadable, stop writing to the card. Repeated repair attempts can overwrite recoverable data. Make a sector-level image or use a reputable recovery specialist when the photos matter. Physical cleaning is not a cure for logical corruption.
Retire questionable cards
Replace a card that has a cracked shell, loose lock tab, lifted contact, recurring write error, or unexplained disconnects. Media is cheaper than reshooting an irreplaceable event. Mark retired cards clearly so they cannot return to the working case.
Maintain more than one verified card and rotate them. Our camera battery rotation guide uses a similar principle: small items are safer when their status and position are clear before the trip begins.
A pre-shoot card routine
The day before a shoot, confirm that files are backed up in at least two places. Format the working card in the camera only after verification. Capture and review a short test burst, then check that the file transfers through the normal reader. Inspect the card and case under good light.
Carry the spare separately from the active card when practical. If a bag is lost or soaked, separation can preserve part of the work. Do not wait until the camera reports “card full” to discover that the spare is still at home.
Keep cleaning conservative
The safest contact-care rule is prevention: power down, hold edges, use a case, keep slots clean, and stop when damage is visible. A blower and a careful inspection solve more problems than aggressive polishing. When a card becomes unreliable, replacement is usually the responsible choice.
Treat memory cards as working storage, not permanent archives. Good handling protects the contacts, while verified backups protect the photographs. Both parts of the routine matter.
Keep adapters in the same inspection loop
MicroSD-to-SD adapters add another set of contacts and a mechanical lock tab. An adapter that intermittently disconnects can make a healthy microSD card appear faulty. Inspect the adapter shell, contacts, and lock position, and replace a loose or cracked adapter instead of taping it together. Do not assume an adapter supplied with one card is ideal for every high-speed recording mode.
When troubleshooting, change one item at a time: card, adapter, reader, cable, then camera slot. Record which combination failed. That method is slower than repeatedly reinserting parts, but it protects the equipment and produces evidence you can use when deciding what to retire.