
Reviewed and updated: November 3, 2026
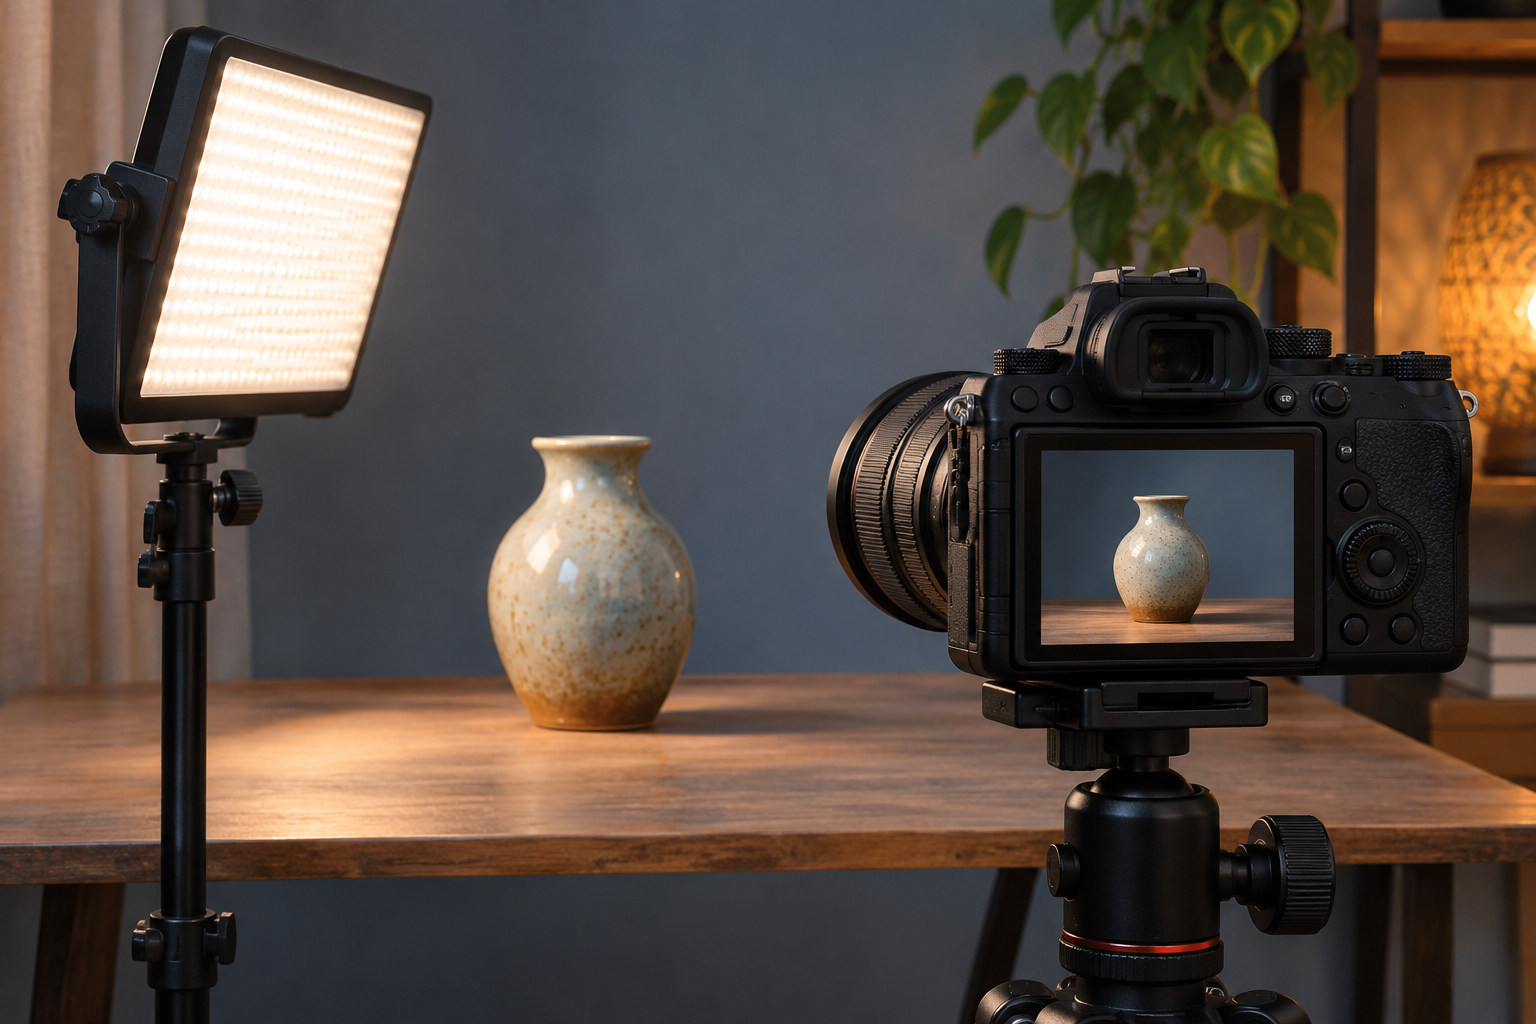
Dark stripes across an indoor photograph can look like a camera fault, especially when the room seems evenly lit. Under LED lighting, the cause may be a mismatch between the light’s changing output and the way the camera records the frame. The stripes can move between exposures, and brightness or color can change across a burst.
Start with a controlled test before changing equipment. Photograph a plain wall under the suspect light, compare shutter modes, and try slower shutter speeds. Check the saved photographs as well as the live display. A clean preview alone does not prove that the next exposure will be clean.
Confirm that the bands come from the lighting
Keep the camera pointed at the same evenly colored surface and take several photographs. Avoid an overexposed wall: clipped highlights can hide uneven illumination. Then repeat the test in daylight with the room lights switched off. If the stripes disappear, the lighting is a strong suspect.
Look for broad or narrow changes in brightness or color rather than ordinary grain. Fine repeating fabric patterns can create moiré, while noise often appears as scattered speckles. A dark stripe caused by flash timing is another problem. Test with flash disabled so those causes do not get mixed together.
If a fixed line remains in exactly the same position across different light sources and shutter settings, save the original files and investigate further. Repeating the test with another lens or inspecting the files on another display can help separate a capture problem from a viewing problem.
Understand what the shutter is recording
Some artificial lights change brightness faster than your eyes notice. A camera can record different moments of that cycle across the image. With many electronic shutters, different sensor rows are read at different times; the whole frame is not necessarily captured at one instant.
A fast shutter speed describes each area’s exposure duration, not necessarily the time required to read the entire sensor. This distinction explains why choosing an extremely fast electronic shutter does not automatically prevent bands. Mechanical focal-plane shutters can also show uneven lighting, particularly when a narrow moving slit exposes the frame.
The practical response is to test the camera and light together. A setting that worked in one room may fail in another, even when both rooms use LED bulbs. Different fixtures, dimmers, and display panels can produce different behavior.
Compare mechanical and electronic modes
If your camera offers a fully mechanical shutter, try it with the same framing and exposure. Disable silent shooting if that option forces an electronic shutter. Electronic front-curtain shutter is a separate mode on some cameras; do not assume that switching off one menu item selects a fully mechanical exposure.
Take several test frames in each available mode. A change that reduces banding is useful even if it does not eliminate it. Some bodies have no fully mechanical option, so check the manual before searching for a setting that the camera cannot provide.
At a quiet performance, shutter sound may matter. Follow the venue’s rules and test any permitted mode before the event begins. If you must keep the electronic shutter, concentrate on exposure timing and the camera’s compatible flicker controls.
Try a slower shutter speed deliberately
For a stationary subject, place the camera on a stable support and test progressively slower exposures. Keep the aperture fixed and adjust ISO to maintain comparable brightness. Manual exposure makes this comparison easier because the camera will not silently change the shutter speed between frames.
Under lighting tied to a 60 Hz electrical supply, 1/60 second is a useful starting experiment; under 50 Hz lighting, try 1/50 second. These are test points, not universal solutions. LED drivers can operate at other frequencies, and a dimmed fixture may behave differently from the same fixture at full output.
Check several frames at every setting. A longer exposure may average more of the light’s cycle, but it also increases subject blur and camera-shake risk. Our shutter-speed guide explains that motion tradeoff. Choose the slowest setting that still records your subject acceptably.
Use the correct flicker setting
Look in the still-photography menu for anti-flicker shooting or photo flicker reduction. A video flicker setting may not control still images. Availability can also depend on shutter type, exposure mode, or other shooting settings, so read the restrictions for your exact body.
Conventional anti-flicker shooting can time an exposure around a detected light cycle. It should not be treated as a guarantee against every LED source. Cameras that offer high-frequency flicker reduction or variable shutter timing may let you adjust shutter speed in smaller steps to minimize visible stripes.
Use that fine adjustment while watching an evenly illuminated part of the scene, then take actual photographs. Inspect the saved frames at useful magnification, including darker areas where stripes are easier to see. Repeat after changing shutter mode or moving to a differently lit part of the room.
Simplify the lighting when you control it
For a home portrait or tabletop session, turn off unnecessary fixtures and test one source at a time. Mixed lighting can leave you solving two different cycles at once. Window light may provide a simpler alternative if its direction and brightness suit the photograph.
If a lamp has a dimmer, compare its normal setting with full output while keeping exposure comparable. Results depend on the lamp; full brightness is an experiment rather than a promised fix. Reposition the subject or use a different existing light if that produces cleaner frames.
Do not open electrical fixtures or modify their power supplies. Photography troubleshooting should stay with camera settings, normal lighting controls, and safe changes to the setup. For reflective subjects, our guide to controlling reflections helps you evaluate the new light position.
Balance clean lighting with subject movement
A sharp photograph of a moving performer may require a faster shutter than your cleanest wall test. Try the compatible flicker controls at that faster speed, then compare real movement. Check hands, faces, and clothing edges rather than judging sharpness from a static background.
If no setting removes the bands without unacceptable blur, change what you can: the shooting position, the timing within a lighting sequence, or the light illuminating the subject. Raising ISO can preserve brightness when you shorten the exposure, but ISO alone does not synchronize the camera with flickering light.
Finish with a repeatable test
Use a simple comparison sheet instead of relying on memory. Label each group of photographs with the shutter mode and exposure speed, and note whether the dimmer was changed. Review the groups together at the same display brightness. This makes it easier to distinguish a real improvement from a brighter exposure that merely conceals the stripes.
When sharing examples with camera support, include the original files and the settings used. Explain whether the effect occurs with one lamp, several fixtures, or daylight too. Those details are more informative than a cropped screenshot without exposure information.
Before an important session, record the shutter mode, speed, flicker setting, and lamp brightness that produced the most consistent files. Shoot a short sequence to catch frame-to-frame changes. Recheck when the venue changes its lighting or when you change shooting modes.
Keep a clean test frame and a striped example for comparison. Editing may soften mild unevenness, but strong bands across skin tones or detailed subjects can be difficult to repair convincingly. Solving the timing or lighting during capture gives you a much stronger starting file.