
What Is an 80mm Lens Good For?
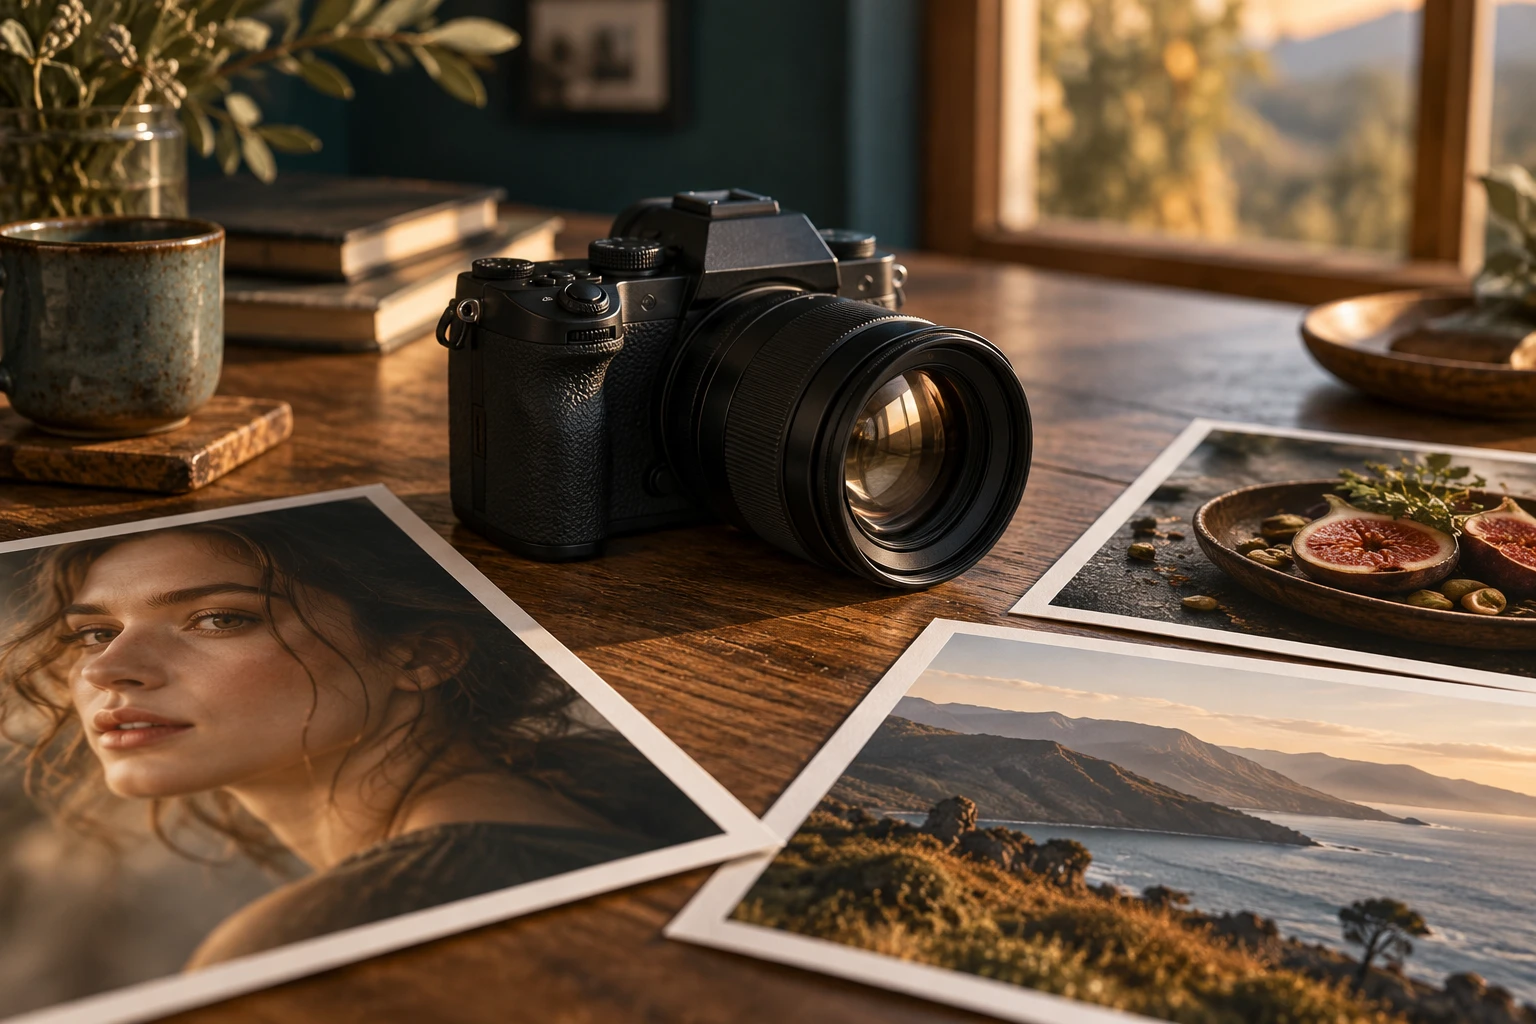
Around 80mm on full frame is especially useful for portraits, details, products, and compressed landscapes. On a crop-sensor camera, the same lens gives a narrower field of view and needs more working distance.
Start with sensor format
Focal length is a physical property of the lens, but the field of view depends on sensor size. An 80mm lens on full frame is a short telephoto. On a 1.5x APS-C body it frames roughly like 120mm on full frame, and on a 1.6x body roughly like 128mm. On Micro Four Thirds it frames like about 160mm. That narrower view may be excellent for distant details but restrictive in a small room. Check the camera format before using any focal-length recommendation.
Portraits are the classic use
An 80mm view on full frame lets the photographer stand far enough away for comfortable head-and-shoulder portraits without shouting across the room. The perspective comes from that camera distance, not from a magical flattering property inside the lens. Compared with shooting very close using a wide lens, the greater distance can make facial proportions look more natural. A wide aperture can soften the background, but careful focus on the nearer eye and enough depth of field for the pose remain important.
Events and candid details
A short telephoto helps isolate moments without entering every conversation. It works for hands, expressions, table details, speakers, and small groups when space permits. Indoors, the photographer may run out of room, and a prime lens cannot zoom wider when the scene changes. Pairing an 80mm-range lens with a second body or a wider lens can reduce missed moments. Respect privacy and venue rules; physical distance does not remove the need for permission.
Products, food, and artwork
The narrower view makes it easier to exclude clutter and keep lights, stands, and room edges outside the frame. At a comfortable distance, products and dishes often show less exaggerated perspective than they would with a close wide-angle lens. Minimum focusing distance and maximum magnification still limit how small a subject can fill the frame. An 80mm portrait lens is not automatically a macro lens. For coins, insects, and tiny details, check the lens reproduction ratio or use a true macro design.
Landscapes and city scenes
Telephoto landscapes are useful for selecting layers, distant peaks, architectural patterns, and small areas of changing light. The narrow angle simplifies a busy scene and can make distant objects appear visually closer together because the photographer frames from farther away. Atmospheric haze, vibration, and focus accuracy become more visible at distance. Use a suitable shutter speed, stable support when allowed, and careful focus rather than assuming every telephoto landscape needs the smallest aperture.
Aperture and stabilization
An f/1.8 or f/2 lens can gather light and create shallow depth of field, but wide-open sharpness, focus precision, and aberrations vary. Stopping down can improve consistency and keep both eyes or a three-dimensional product sharp. Stabilization helps reduce camera movement on static subjects; it cannot freeze a moving person. As focal length increases, hand movement becomes more obvious, so select shutter speed for both the lens and the subject.
When another focal length is better
Choose 35mm or 50mm when you need more environmental context or work in tight spaces. Choose 100mm to 135mm when you want more working distance or tighter compression and have room to step back. For travel, a zoom covering roughly 70–200mm may be more flexible than a single 80mm prime, though it is usually larger. The right choice follows repeated subjects, working distance, light, and carrying tolerance rather than a universal portrait rule.
How to make the advice useful
Begin with a real shooting problem instead of a specification. Write down the subject, typical light, needed working distance, carrying limit, and the result you want to improve. Then test one change at a time. This keeps technique, equipment, and expectations separate. Review photographs on a larger screen, compare them at the same output size, and keep notes about the setting or position that actually changed the result.
A practical test routine
Use familiar subjects before an important trip or assignment. Make photographs indoors, outdoors, in motion, and at the closest distance relevant to the task. Check focus, exposure, background, handling, and file transfer while any return period remains open. Repeat weak results before blaming the equipment. Motion blur, missed focus, poor light, dirty optics, and an unsuitable viewpoint can look similar until the variables are tested carefully.
Keep the workflow dependable
Charge and label batteries, use reputable memory cards, format cards in the camera only after files are safely copied, and keep firmware and manuals associated with the exact model. Back up important files to at least two places. Add one accessory or setting change at a time so unexpected behavior has an identifiable cause. A simple routine that you understand will produce more reliable photographs than a complicated setup copied from someone else. Before travel, repeat the complete routine from capture through backup with the exact cables, cards, applications, and storage you plan to carry. A five-minute rehearsal can reveal a missing adapter or unsupported file before it matters.
Check the result, not only the settings
After each practice session, select a small group of successful and unsuccessful frames. Compare focus at the intended viewing size, inspect highlights and shadows, and ask whether the composition communicates the subject clearly. Keep one example of each common mistake with a short note about its cause. That simple record turns trial and error into a repeatable lesson and prevents changing several controls when only one adjustment is needed. Revisit the exercise in different light before deciding that the camera or lens has reached a hard limit.
Final perspective
Photography improves when the tool, technique, and subject support one another. Treat specifications as clues rather than promises, and judge the result at the size people will actually view it. Comfort and confidence affect whether the camera leaves the bag. Whatever option you choose, practice in ordinary conditions, review mistakes without rushing, and build a small repeatable process before adding more equipment or complexity. Save a final checklist with the camera so a successful setup can be rebuilt months later. Good documentation is especially useful when several people share the equipment or when a rarely used feature must work under time pressure.
Sources and review notes
- Nikon focal-length guide