
Reviewed and updated: October 27, 2026
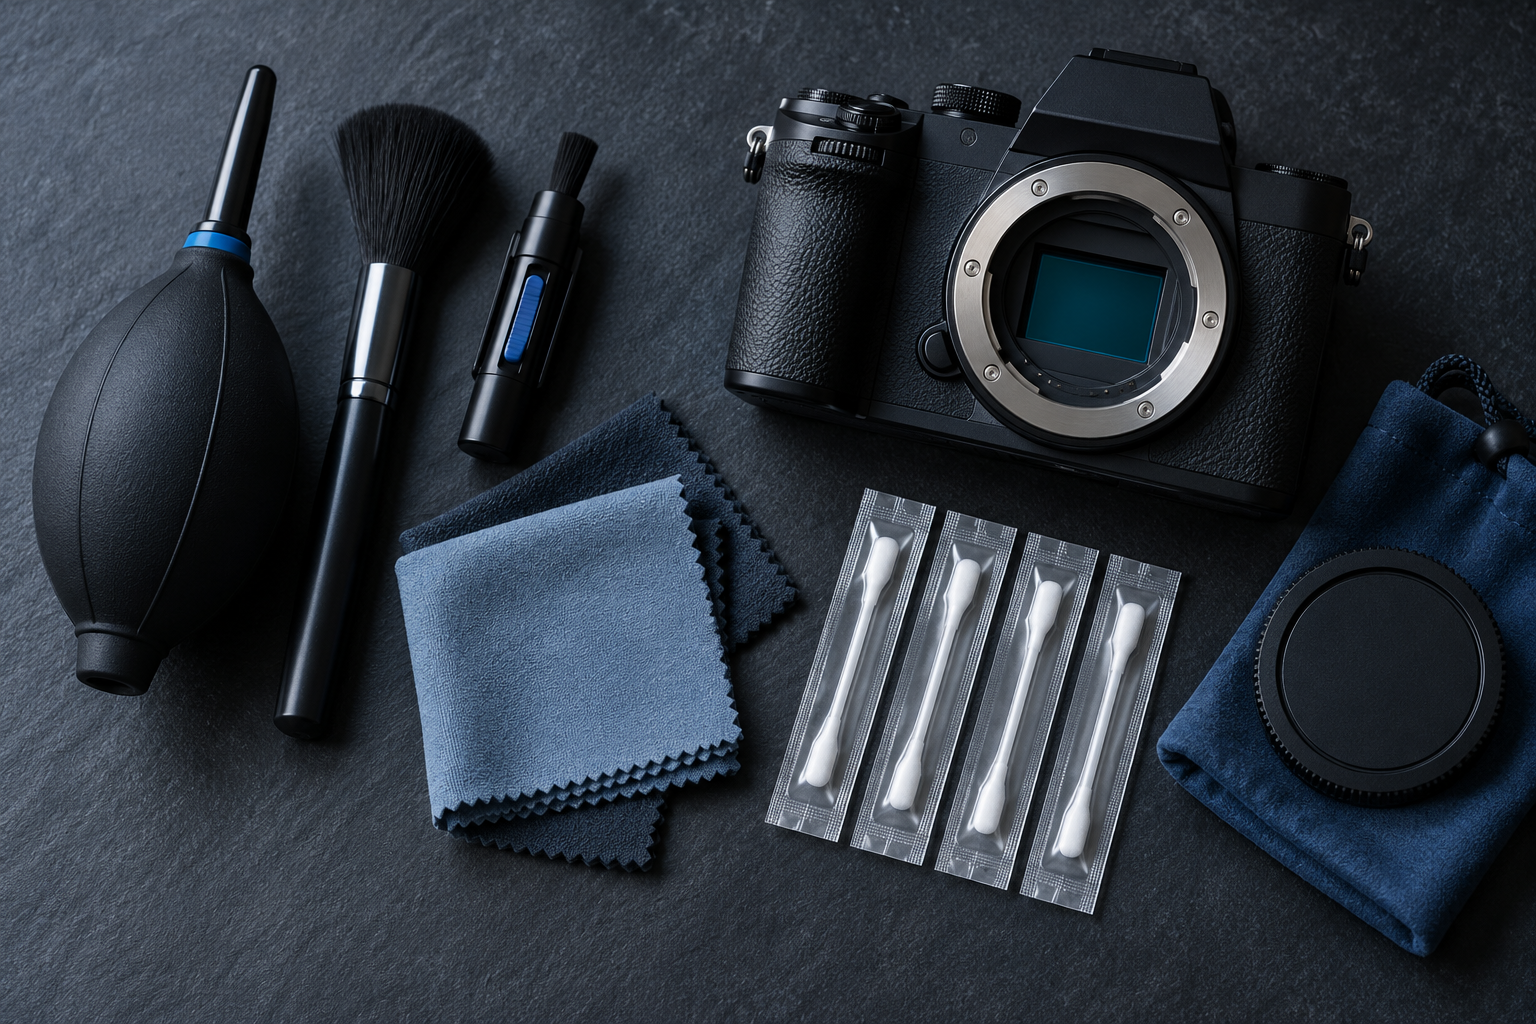
A travel cleaning kit should remove loose dust safely without encouraging unnecessary sensor contact. Compare the blower, brush, cloth storage, liquid rules, and whether every tool matches the camera manual.
This guide was reviewed against current official product information where a model is discussed. Specifications and packages can change, so verify the exact label or manufacturer page before acting.
Separate routine cleaning from sensor work
Most travel cleaning involves the lens exterior, caps, screen, body seams, and bag. Sensor cleaning is a different risk category. Confirm dust in test images, run the camera’s built-in cycle first, and follow the exact model manual before opening the mount or using any sensor tool. Begin with the ordinary situation, not the most dramatic edge case. Write down the starting condition, use one controlled change, and inspect the result before repeating it. That small discipline makes advice easier to follow and prevents convenience from turning into a careless habit.
Compare ZEISS Lens Cleaning Kit
The current ZEISS kit combines a bulb blower, dust brush, cleaning fluid, lens cloth, wipes, and a compact pouch. It is suited to external optical surfaces when each item is used as directed. Keep fluid off the camera body openings and never apply liquid directly to a lens. A reliable routine separates visible evidence from assumptions. Check the model, material, setting, or condition that is actually present, then follow the instructions that apply to it. When the result differs from expectation, stop and review instead of adding more force, heat, liquid, or time.
Compare Micro-Tools DIGI-KB Basic Kit
Micro-Tools lists the DIGI-KB kit with a Giottos Rocket-style blower, inspection loupe, microfiber supplies, and travel organization. Contents can change, so verify the current package. A loupe helps inspection but does not make wet sensor cleaning appropriate for an inexperienced traveler. Keep the setup simple enough to repeat on a busy day. Prepare the workspace, protect nearby people and surfaces, and keep the relevant instructions available. Consistency is more valuable than a complicated routine that is remembered differently each time.
Compare Giottos Rocket Air Blower GTAA1900
The Giottos GTAA1900 Rocket Air Blower is a standalone bulb tool rather than a full kit. It can remove loose particles without propellant when used correctly. Keep its nozzle clean, avoid contact with internal parts, and never substitute compressed or canned air around the sensor chamber. Treat maintenance as part of the decision rather than an afterthought. Consumables, cleaning, storage, replacement parts, and the time needed for safe use can matter more than an impressive feature list. A product or method is useful only when the full routine fits the owner.
Choose tools that stay protected
A blower stored loose can collect grit; a cloth in a pocket can pick up oil; an uncapped brush can become a source of scratches. Choose a pouch with separate clean zones and caps. Pack liquid within airline and temperature rules and prevent leaks onto batteries or electronics. Use notes that another person could understand later. Record names, dates, settings, and any warning signs in plain language. This creates a dependable reference when conditions change and makes it easier to identify whether a result came from the tool, the material, or the technique.
Use the least aggressive method
Begin with a blower on accessible external surfaces, then an approved clean brush or cloth when needed. Do not scrub particles across glass. For lens cleaning fluid, apply the permitted amount to the approved material rather than flooding a coated element or allowing liquid to wick under an edge. Safety limits deserve the same attention as performance. Stop when there is damage, unusual heat, odor, sound, irritation, instability, or a result that cannot be explained. Manufacturer directions and qualified professional advice take priority over a shortcut found in a general guide.
Handle the camera for cleaning
Turn power off when the manual requires it, remove loose straps that could strike the camera, and work on a stable clean surface out of wind. Keep body and rear lens caps paired and clean. Change lenses with the mount pointed away from blowing dust and minimize the open time. Compare choices using the same real-world test. Hold the main variables steady, evaluate the outcome in normal conditions, and include cleanup and storage in the judgment. This avoids choosing a winner based on a one-minute impression that does not represent regular use.
Know when to stop
Oil, sticky residue, fungus, internal haze, shutter contamination, and persistent sensor marks may require qualified service. Do not keep adding fluid or pressure when the result is unclear. A scratched coating or damaged shutter costs far more than a conservative professional cleaning. Plan for the person who will actually do the work. Reach, vision, dexterity, attention, experience, and supervision can change what counts as simple. The best process is the one that can be completed correctly without improvising around controls, labels, or missing accessories.
Build a compact travel routine
Carry a protected blower, clean cloths, caps, and a small bag for used wipes. Inspect gear each evening and clean the pouch itself. Save wet or internal work for a controlled environment unless the manual, tools, skill, and need clearly justify doing it during travel. Finish with a quick review before putting everything away. Confirm that equipment is clean, dry, switched off, capped, or backed up as appropriate, and note anything that needs replacement. That final minute protects the next session from inheriting an unseen problem.
Quick checklist
- Confirm the surface before cleaning.
- Use a protected manual blower, never canned air.
- Keep cloths and brushes isolated from grit.
- Apply fluid only as directed.
- Avoid unnecessary sensor contact.
- Use qualified service for uncertain residue or damage.
Why these checkpoints matter
- Confirm the surface before cleaning. This defines the starting condition and prevents the rest of the process from resting on an assumption.
- Use a protected manual blower, never canned air. This narrows the choice to evidence you can verify on the exact label, model, or scene.
- Keep cloths and brushes isolated from grit. This checkpoint reduces avoidable risk before another variable is introduced.
- Apply fluid only as directed. This keeps the routine compatible with the person, product, material, or equipment involved.
- Avoid unnecessary sensor contact. This creates a repeatable step instead of relying on memory or marketing language.
- Use qualified service for uncertain residue or damage. This final review catches changes in condition, availability, or instructions before the next use.
Common questions
Can a lens kit clean a camera sensor?
Not automatically. Sensor work requires model-specific procedures and properly sized tools; ordinary lens supplies may be unsuitable.
Is canned air safe?
No. Pressure and propellant can damage camera components.
How should cloths be stored?
Keep clean cloths sealed and separate from used items, oils, sand, and the outside of the bag.
Compare current Amazon listings
ZEISS Lens Cleaning Kit
Confirm the exact model, package contents, seller, current price, and availability.
Check this model on Amazon: ZEISS Lens Cleaning Kit (paid link)
Micro-Tools DIGI-KB Camera Cleaning Kit
Confirm the exact model, package contents, seller, current price, and availability.
Check this model on Amazon: Micro-Tools DIGI-KB Camera Cleaning Kit (paid link)
Giottos Rocket Air Blower GTAA1900
Confirm the exact model, package contents, seller, current price, and availability.
Check this model on Amazon: Giottos Rocket Air Blower GTAA1900 (paid link)