
How to Take Pictures of Yourself Without a Tripod
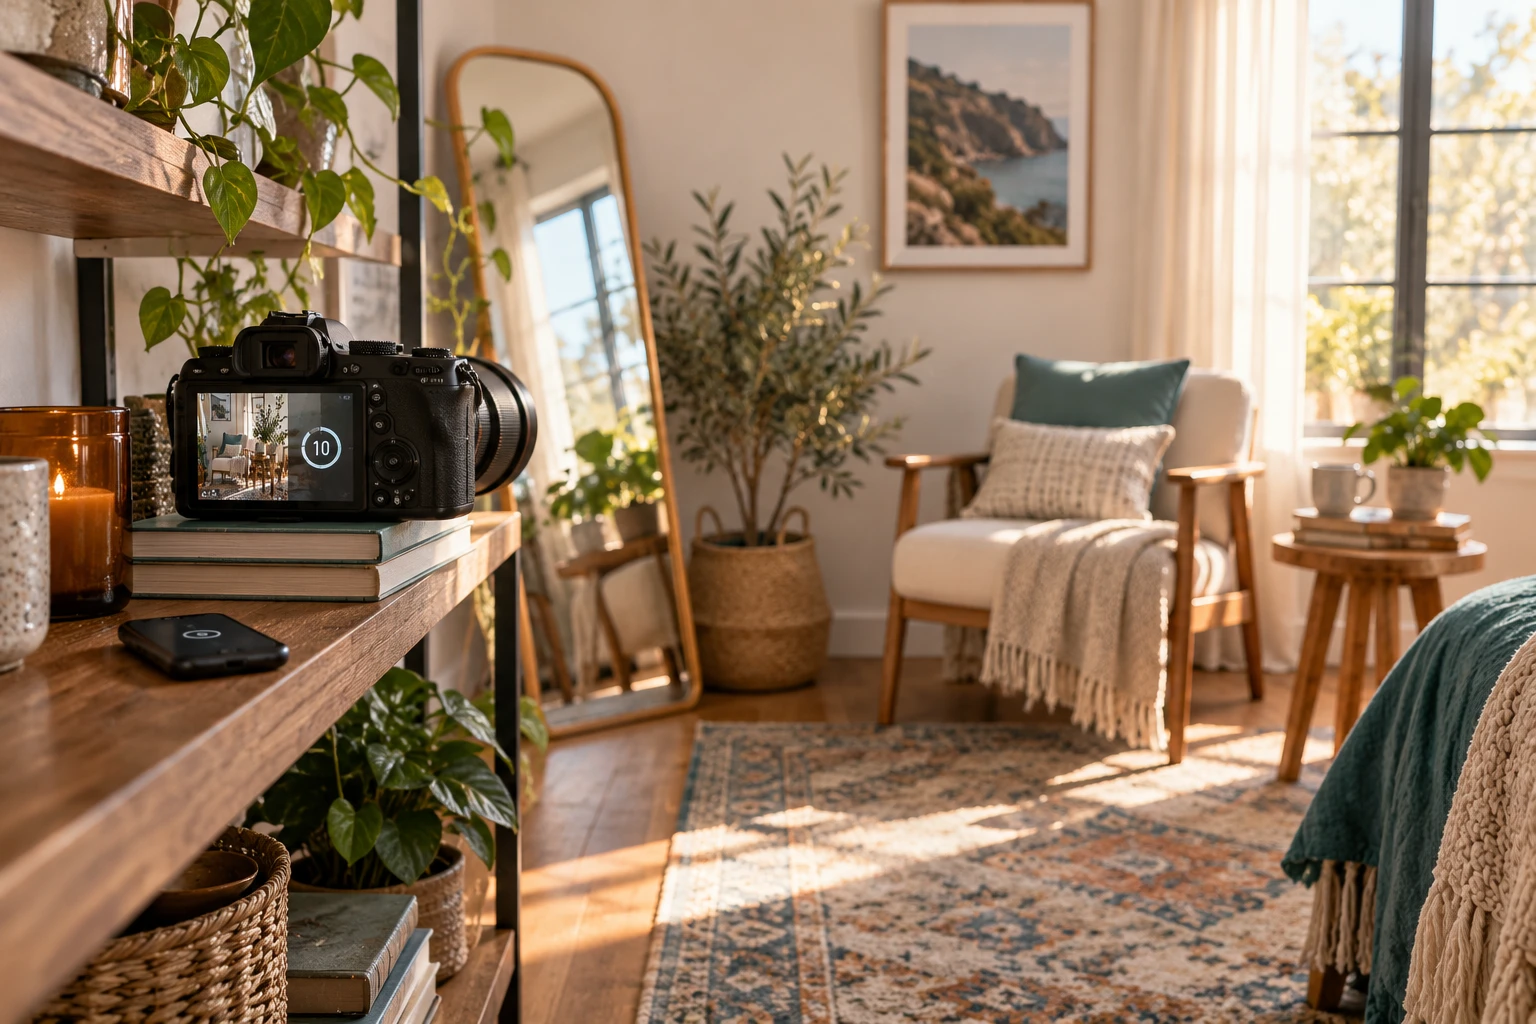
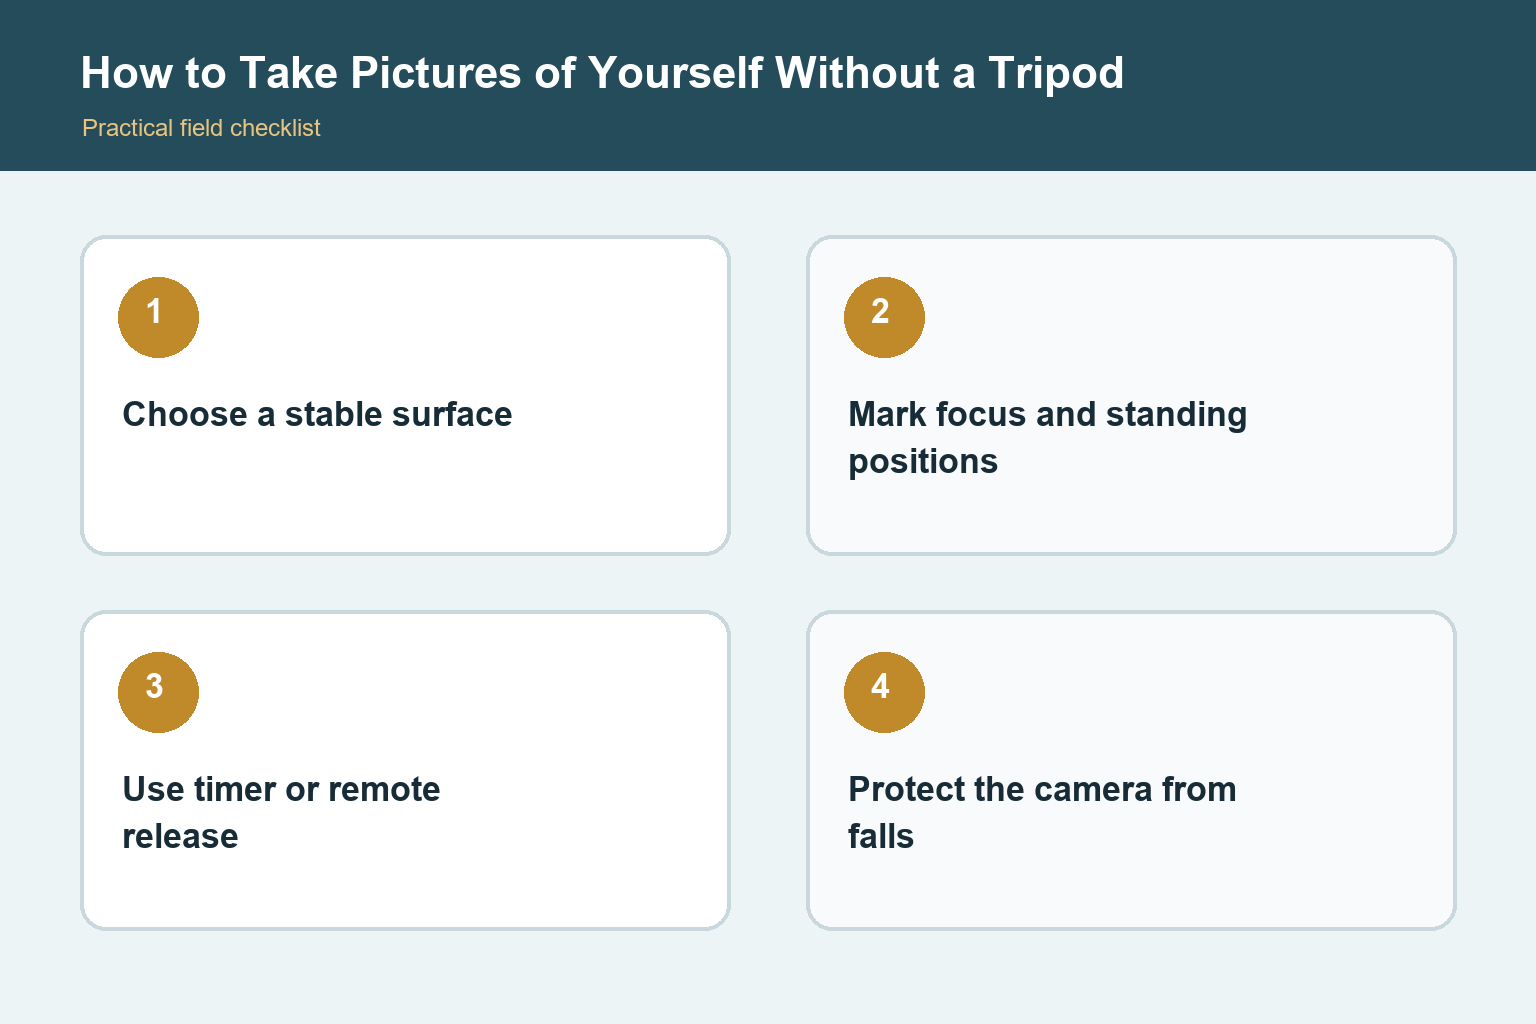
Use a stable level surface, protect the camera from falling, compose with a stand-in, and trigger with a timer or remote. Good light and repeatable marks matter more than an improvised tall support.
Choose stability before height
A shelf, sturdy table, wide windowsill, low wall, or firmly parked vehicle can support a camera when a tripod is unavailable. The surface must be level, dry, permitted, and broad enough that the camera cannot slide or be bumped. Never balance expensive gear on stacked glasses, narrow railings, tree branches, moving furniture, or unstable piles of books. Keep the strap from hanging where a child, pet, passerby, or wind gust can pull it.
Level and aim the camera
Use a folded nonslip cloth, beanbag, or purpose-built camera support to adjust angle without blocking ventilation or controls. Check that the lens does not carry the camera’s weight at an awkward point. Turn on the grid or electronic level if available. Leave more space around the planned composition than you think you need; a modest crop is easier than rebuilding a missing hand or the top of a head.
Compose with a stand-in
Place a chair, bag, light stand, or another person where your face will be. Focus on the stand-in and note its distance from the camera. Mark your foot position with a small object that will not create a trip hazard. For a seated portrait, set the chair first and compose around it. Check the background edges, reflective surfaces, personal information, and bright windows before entering the frame.
Set focus deliberately
Face or eye detection can work well if the camera supports it during timer or remote shooting. Otherwise focus on the stand-in, then switch to manual focus so the camera does not grab the background after you move into place. Use enough depth of field to cover small positioning errors; f/4 to f/8 is often more forgiving than the lens wide open. Do not depend on a tiny rear screen to prove critical sharpness.
Trigger the picture
A built-in self-timer is the simplest choice. Select enough delay to reach the mark calmly and use a burst or interval option if the camera provides one. A manufacturer-supported phone app or wireless remote can let you preview and trigger, though pairing may consume time and battery. Hide the remote naturally or use a short delay after pressing it. Avoid unknown apps that request unnecessary account or device permissions.
Use light that stays consistent
Open shade, a large window, or overcast light gives time to repeat the pose without rapid exposure changes. Face toward the brighter part of the scene and watch for mixed indoor colors. If the background is much brighter than your face, change position or add a safe reflector rather than relying on extreme editing. During golden hour, work efficiently because direction and intensity change quickly. Lock exposure only after checking that highlights and skin tones are protected.
Review and improve in short cycles
Make a small set, return to the camera, and check expression, focus, hands, clothing, horizon, and background. Change one variable at a time. Use a wider composition for movement and a closer frame after the standing mark is reliable. Keep the camera in sight in public places and respect location rules. The best improvised setup is one you can repeat safely without rushing between the camera and the pose.
How to make the advice useful
Begin with a real shooting problem instead of a specification. Write down the subject, typical light, needed working distance, carrying limit, and the result you want to improve. Then test one change at a time. This keeps technique, equipment, and expectations separate. Review photographs on a larger screen, compare them at the same output size, and keep notes about the setting or position that actually changed the result.
A practical test routine
Use familiar subjects before an important trip or assignment. Make photographs indoors, outdoors, in motion, and at the closest distance relevant to the task. Check focus, exposure, background, handling, and file transfer while any return period remains open. Repeat weak results before blaming the equipment. Motion blur, missed focus, poor light, dirty optics, and an unsuitable viewpoint can look similar until the variables are tested carefully.
Keep the workflow dependable
Charge and label batteries, use reputable memory cards, format cards in the camera only after files are safely copied, and keep firmware and manuals associated with the exact model. Back up important files to at least two places. Add one accessory or setting change at a time so unexpected behavior has an identifiable cause. A simple routine that you understand will produce more reliable photographs than a complicated setup copied from someone else. Before travel, repeat the complete routine from capture through backup with the exact cables, cards, applications, and storage you plan to carry. A five-minute rehearsal can reveal a missing adapter or unsupported file before it matters.
Check the result, not only the settings
After each practice session, select a small group of successful and unsuccessful frames. Compare focus at the intended viewing size, inspect highlights and shadows, and ask whether the composition communicates the subject clearly. Keep one example of each common mistake with a short note about its cause. That simple record turns trial and error into a repeatable lesson and prevents changing several controls when only one adjustment is needed. Revisit the exercise in different light before deciding that the camera or lens has reached a hard limit.
Final perspective
Photography improves when the tool, technique, and subject support one another. Treat specifications as clues rather than promises, and judge the result at the size people will actually view it. Comfort and confidence affect whether the camera leaves the bag. Whatever option you choose, practice in ordinary conditions, review mistakes without rushing, and build a small repeatable process before adding more equipment or complexity. Save a final checklist with the camera so a successful setup can be rebuilt months later. Good documentation is especially useful when several people share the equipment or when a rarely used feature must work under time pressure.
Sources and review notes
- Nikon self-timer and photography learning center