
Reviewed and updated: November 5, 2026
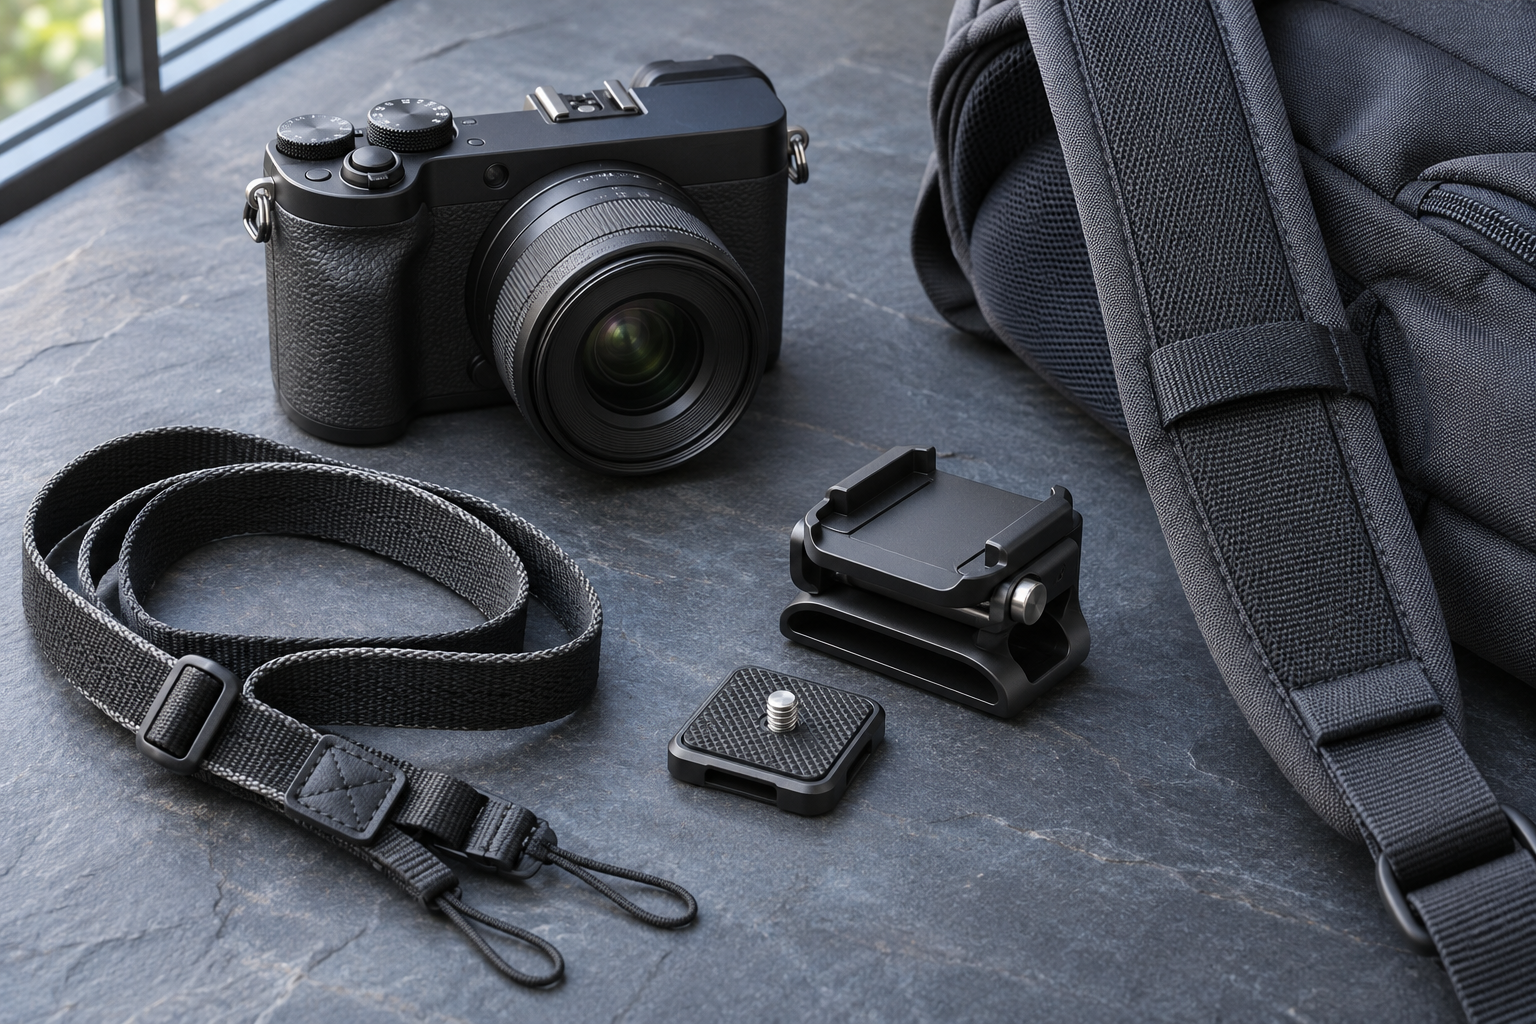
Peak Design Capture makes sense when a camera hanging from a strap gets in your way, but it is not automatically the right purchase for every walk. The more useful buying question is where the camera will ride: on a backpack shoulder strap, on a belt, or back in its bag. That choice determines whether Capture alone is enough or whether Pro Pad deserves a place in the order.
Start with Capture for a compatible backpack setup. Consider adding Pro Pad when belt carry is central to your routine and you want the pad’s supporting surface and top-loading arrangement. Skip the system if you mainly need weather protection, carry a camera only briefly, or already have a comfortable strap. This guide uses manufacturer information and use-case analysis rather than hands-on testing.
Peak Design Capture Camera Clip V3 — start with the carrying clip
Capture holds the camera at a fixed attachment point instead of letting it hang from a long strap. Choose it for repeated access while wearing a compatible pack; skip it if your bag stays off your body for most of the session.
This Amazon search targets the black V3 clip with Standard Plate. Check that the selected result includes both pieces rather than a clip-only replacement.
Check this model on Amazon: Peak Design Capture Camera Clip V3 (paid link)
Peak Design Pro Pad V2 — an optional belt-carry addition
Pro Pad uses semi-rigid high-density EVA with a nylon canvas exterior. Peak Design describes belt and backpack-strap use, including top-loading Capture entry on a belt. Consider it for that mounting arrangement; skip it if you do not own or plan to buy the compatible Capture clip.
This Amazon search targets the V2 support pad. It is an accessory, not a complete camera clip or a replacement for the mounting hardware.
Check this model on Amazon: Peak Design Pro Pad V2 (paid link)
Buy for the time between photographs
Imagine a short walk with frequent stops. If the camera spends most of that time inside your bag, a new external mount may add complexity without helping. If you repeatedly unzip the bag for one frame and immediately put the camera away, an accessible carrying position could remove a recurring interruption. Frequency of access matters more than the length of the route.
A fixed carrying point also changes where the load rests. It does not make the camera lighter. Think about which shoulder already carries your bag, where your hands move, and whether the lens would bump a railing when you turn. These are reasons to check the complete arrangement before buying additional accessories.
Backpack carry: try the simpler configuration first
A pack strap is the logical starting point when you already wear the pack throughout a session. Place the camera where you can reach it deliberately without crossing a sternum strap or blocking a buckle. Check the actual strap’s width, thickness, stitching, and curvature against the current Capture fitting instructions. A broad-looking padded strap is not proof of compatibility.
Do not buy Pro Pad simply because it belongs to the same product family. First decide what problem the pad would solve at your chosen location. If the pack distributes the load adequately and the mount sits where you need it, another layer may be unnecessary. Conversely, a poor mounting location is not necessarily cured by adding padding.
Belt carry: where Pro Pad becomes relevant
The belt arrangement deserves a separate decision because the load moves with your waist. Pro Pad’s manufacturer-described support structure and top-loading configuration address that style of use. They do not guarantee comfort for every body, belt, or camera. Consider the belt as part of the system rather than treating any trouser belt as an interchangeable mounting surface.
Before ordering, check where the camera would sit when standing, bending, and sitting in a chair. A lens near your thigh can become awkward during steps or kneeling. Winter layers and a pack hip belt may compete for the same space. If the planned position conflicts with everyday movements, choose a different carrying method instead of forcing the arrangement.
Use the actual lens in your decision
A small body with a compact prime presents a different carrying shape from the same body with a long zoom. The latter projects farther and changes how the load pulls against its attachment. Decide around your normal assembled camera, including hood, grip, cage, and accessories. A demonstration with an empty body tells you little about that complete setup.
If your main lens is large, check its own support instructions and the camera manufacturer’s mounting guidance. Do not infer that a strong accessory makes every camera socket or lens combination appropriate. A bag, wider strap, or dedicated support system may suit your equipment better. Buying the smaller accessory is useful only when the underlying carrying plan is sensible.
Confirm the plate and tripod workflow
The camera-side plate is part of the purchase, not a detail to discover after opening the package. Check the exact included plate and current compatibility information against your camera base and tripod clamp. Similar-looking plates and clamps should not be assumed interchangeable. Confirm clearance around the battery door and any articulating screen before choosing a configuration.
If you often alternate between handheld work and a tripod, write down the steps needed for that change. Removing and reinstalling hardware repeatedly may outweigh the convenience of external carry. Our camera strap buying guide provides other carrying approaches when a camera-side plate would complicate your existing setup.
Plan for weather and crowded spaces
An external carrying position leaves the camera exposed to its surroundings. The clip is not a rain cover, padded case, or impact shield. Think about doorways, public transport, dust, and the direction of rain before deciding to keep equipment outside the bag. Moving the camera into protection should remain easy even after you have installed the carrying hardware.
For wet-weather outings, our camera rain-cover comparison explains why access and complete-kit fit matter together. Check that any cover you use does not interfere with mounting or release. Avoid assuming two accessories work together merely because both fit the camera separately.
Choose the smallest complete order
For backpack-first use, buy the compatible Capture configuration before adding a belt accessory you may never use. For a deliberate belt-carry setup, evaluate Capture and Pro Pad together, including the belt and camera fit. Existing owners should confirm the generation of their hardware before ordering a replacement or accessory. Product names alone can hide different package contents.
Read the selected search result carefully: distinguish a complete clip-and-plate package, a clip-only item, a spare plate, and Pro Pad. Check the seller’s return terms so you can assess the setup with your own equipment. Choose Capture for accessible external carry, add Pro Pad for a specific compatible belt arrangement, and keep using a strap or bag when that better fits your photography.